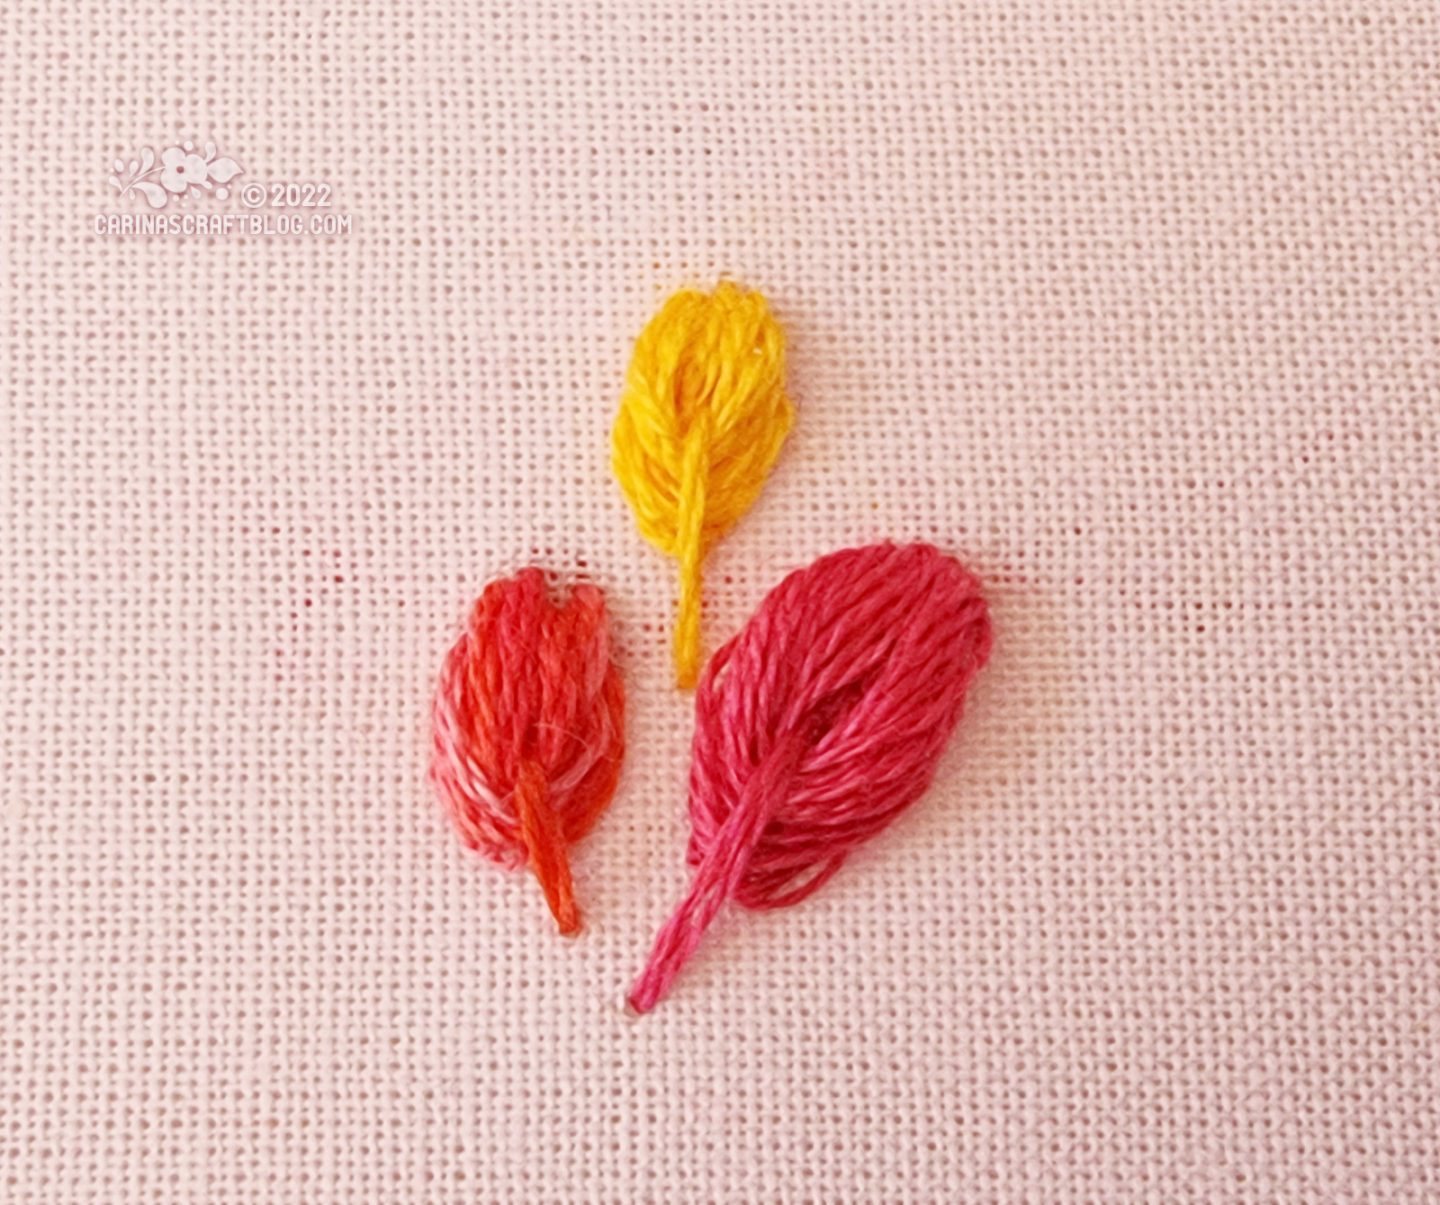
The rose petal stitch is a fun 3D stitch. I love how…puffy it is! :-) And it’s not difficult to do, although I’ll admit that it is a little fiddly.
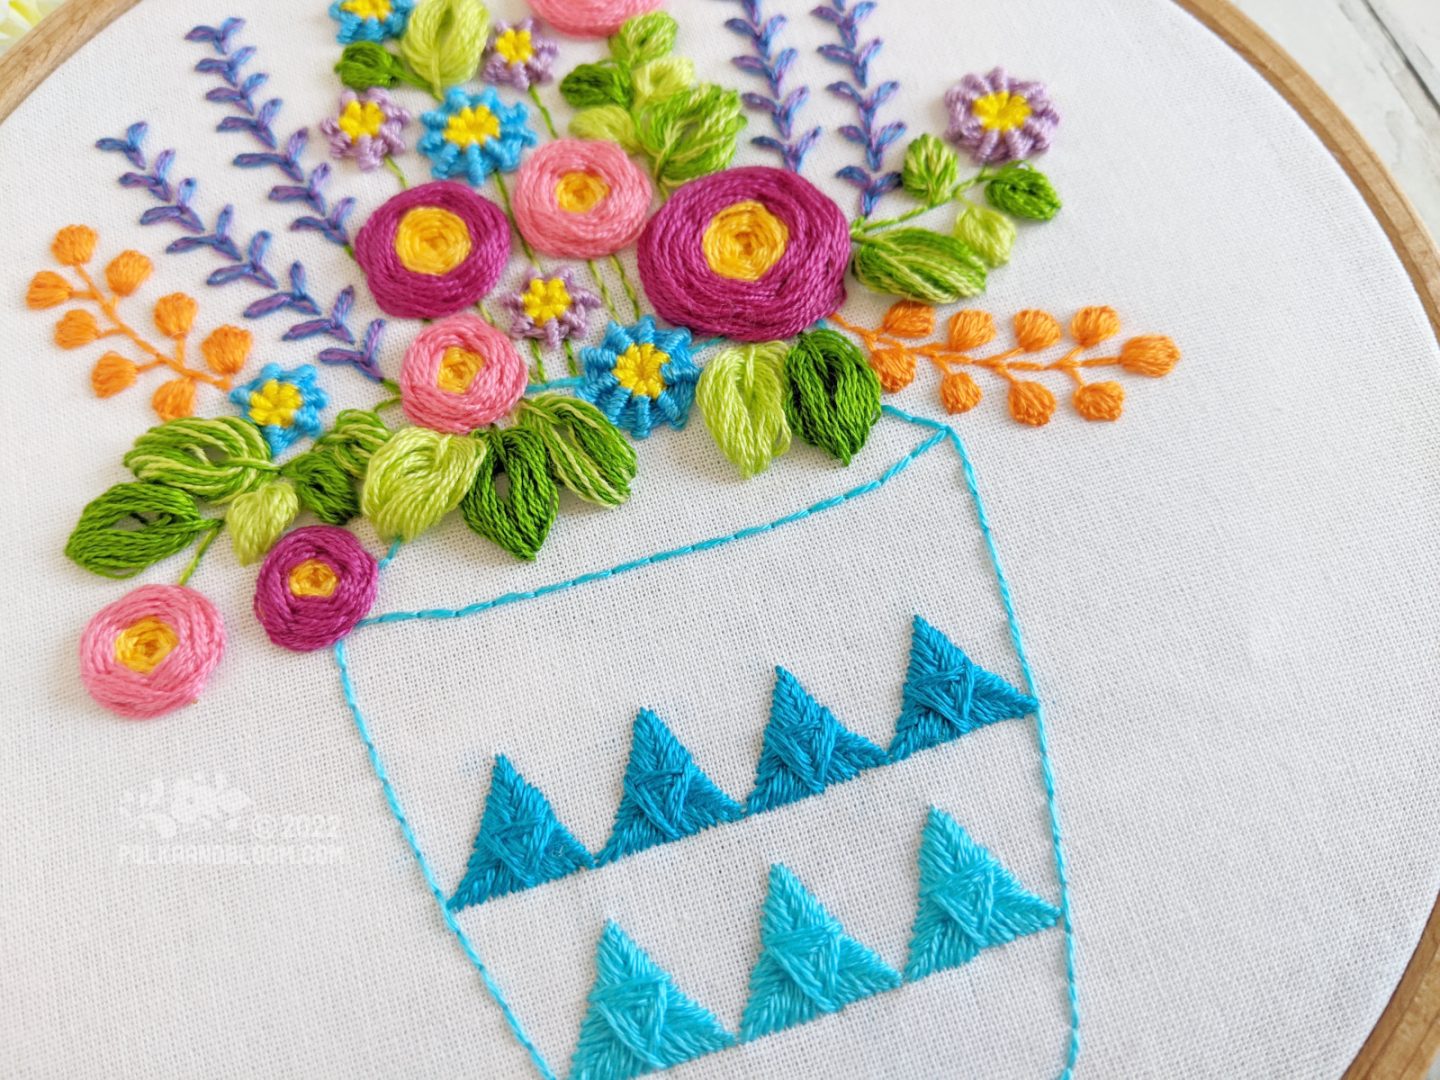
If you want to try the stitch in a pattern, it is one of the stitches used in my recent Blooms Burst pattern. The pattern also has an extra PDF with tutorials for all the stitches used in the pattern.
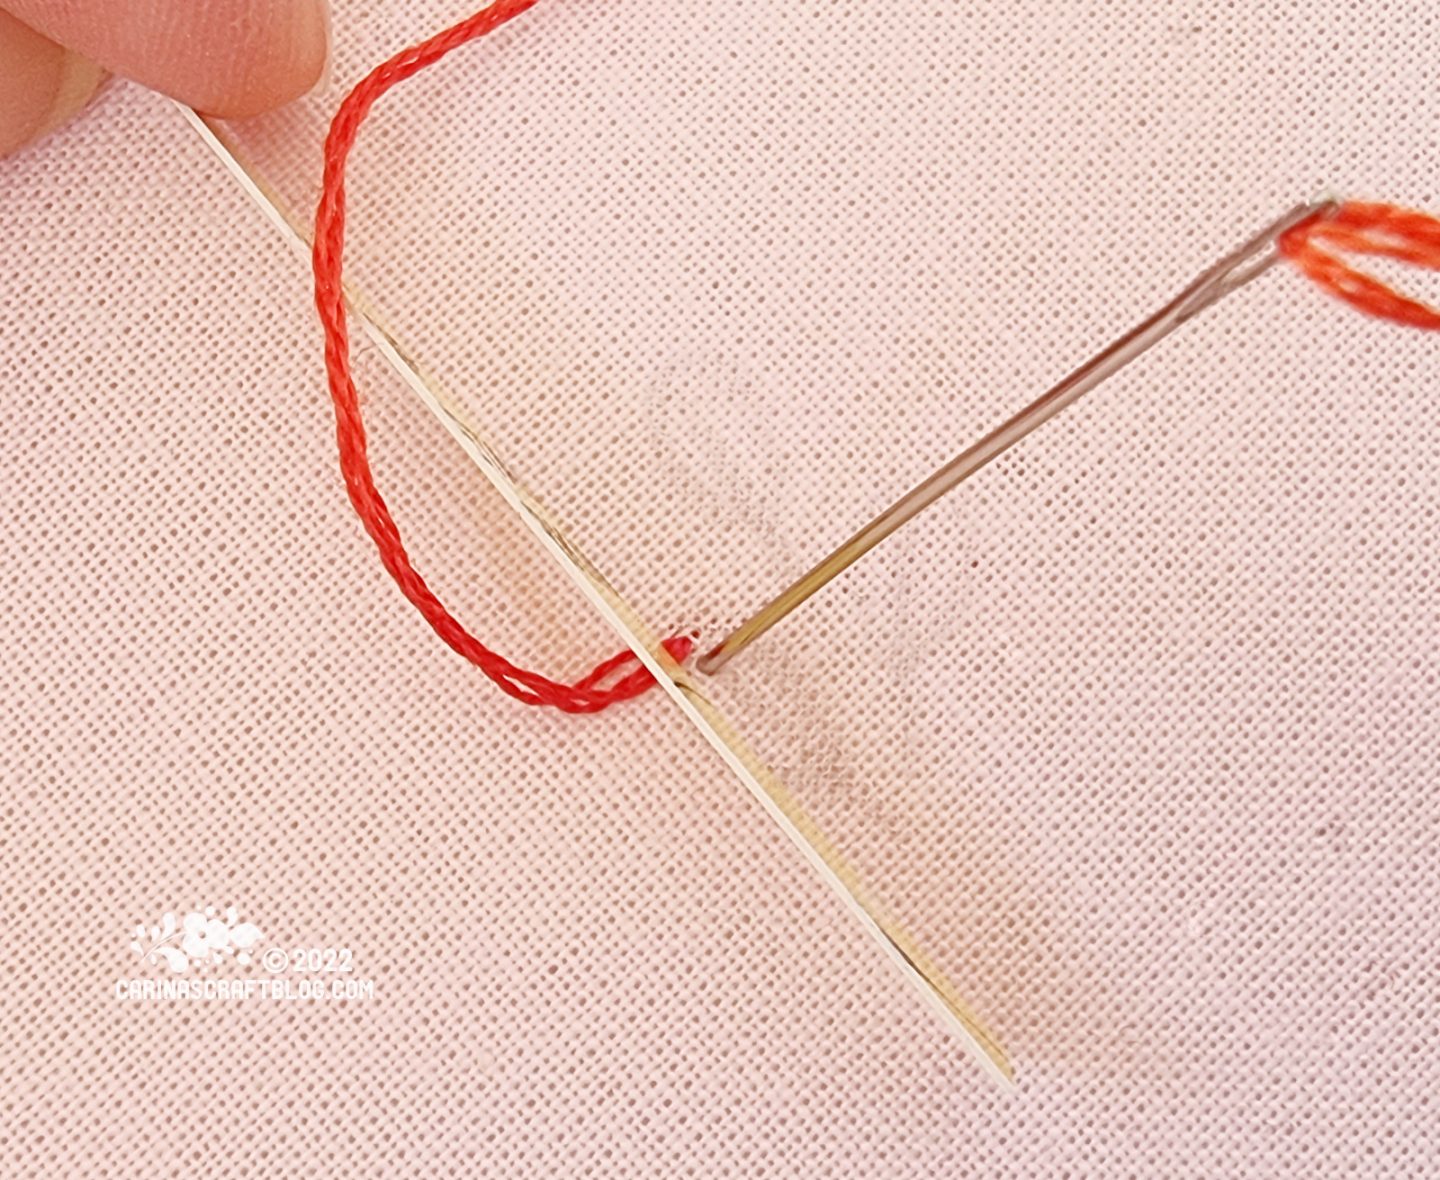
To make this stitch you will need a narrow piece of card. One that measures 3/8” x 3” (1 x 7.5 cm) is a good size to start with.
If you are stitching the Blooms Burst pattern, you will need two pieces of card because there are two sizes of leaves. For the small leaves you will need a piece of card that is 1/4″ x 3” (0.6 x 7.5 cm). For the large leaves in the pattern you will need one that is 3/8” x 3” (1 x 7.5 cm).
Start by bringing the needle up at the tip of the leaf shape. Then place the piece of card next to where you brought up the needle and thread.
Insert the needle just next to where you brought it up, so the thread loops around the piece of card.
Pull the thread tight around the card.
I find it works best to have the stitching about 6/8” (2cm) from the end of the card. That way the stitching won’t accidentally slip off the card.
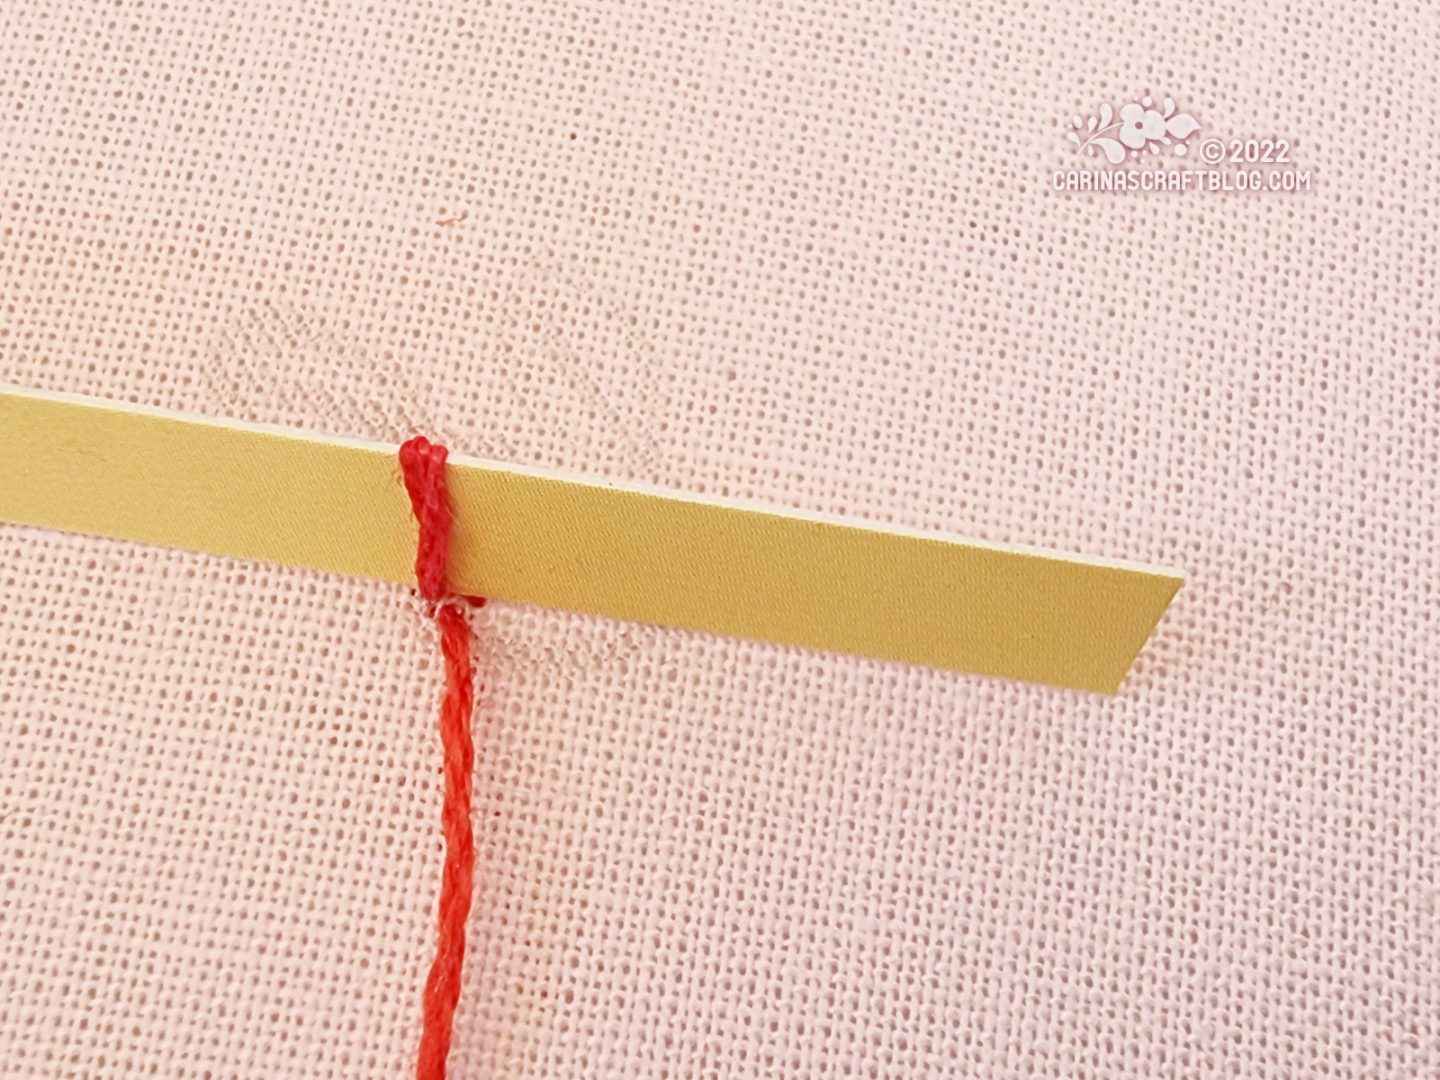
Bring the needle back up on the left hand side of the card, just next to where you brought it up at the beginning.
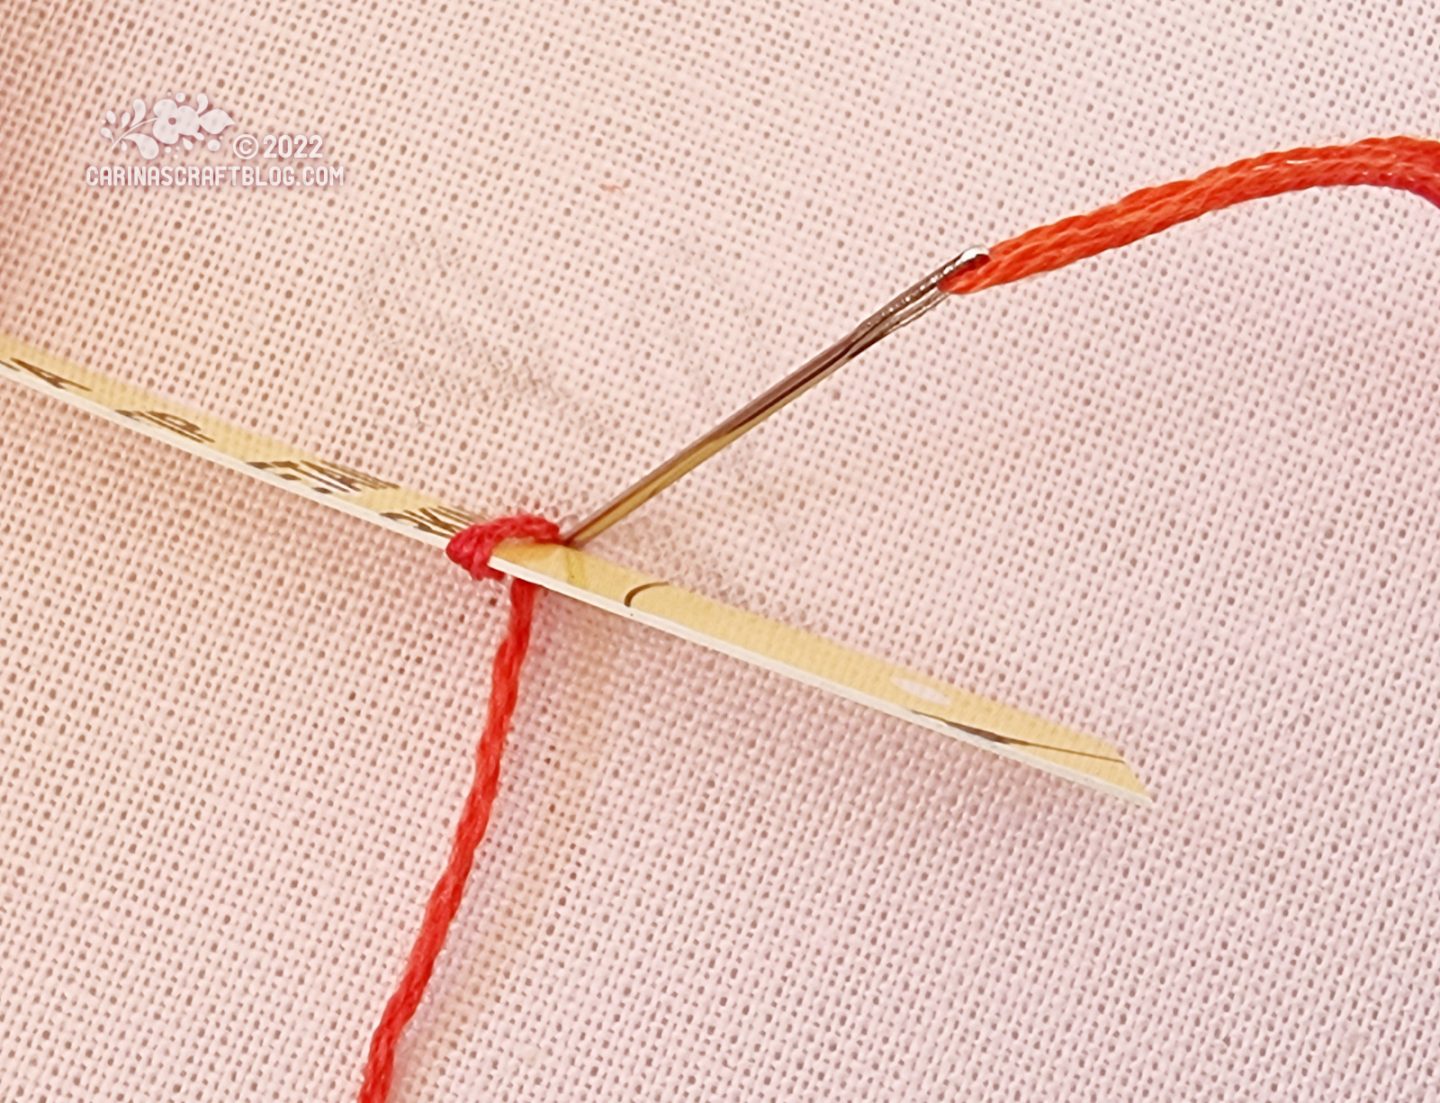
Insert the needle on the right hand side of the card and pull the thread tight around the card.
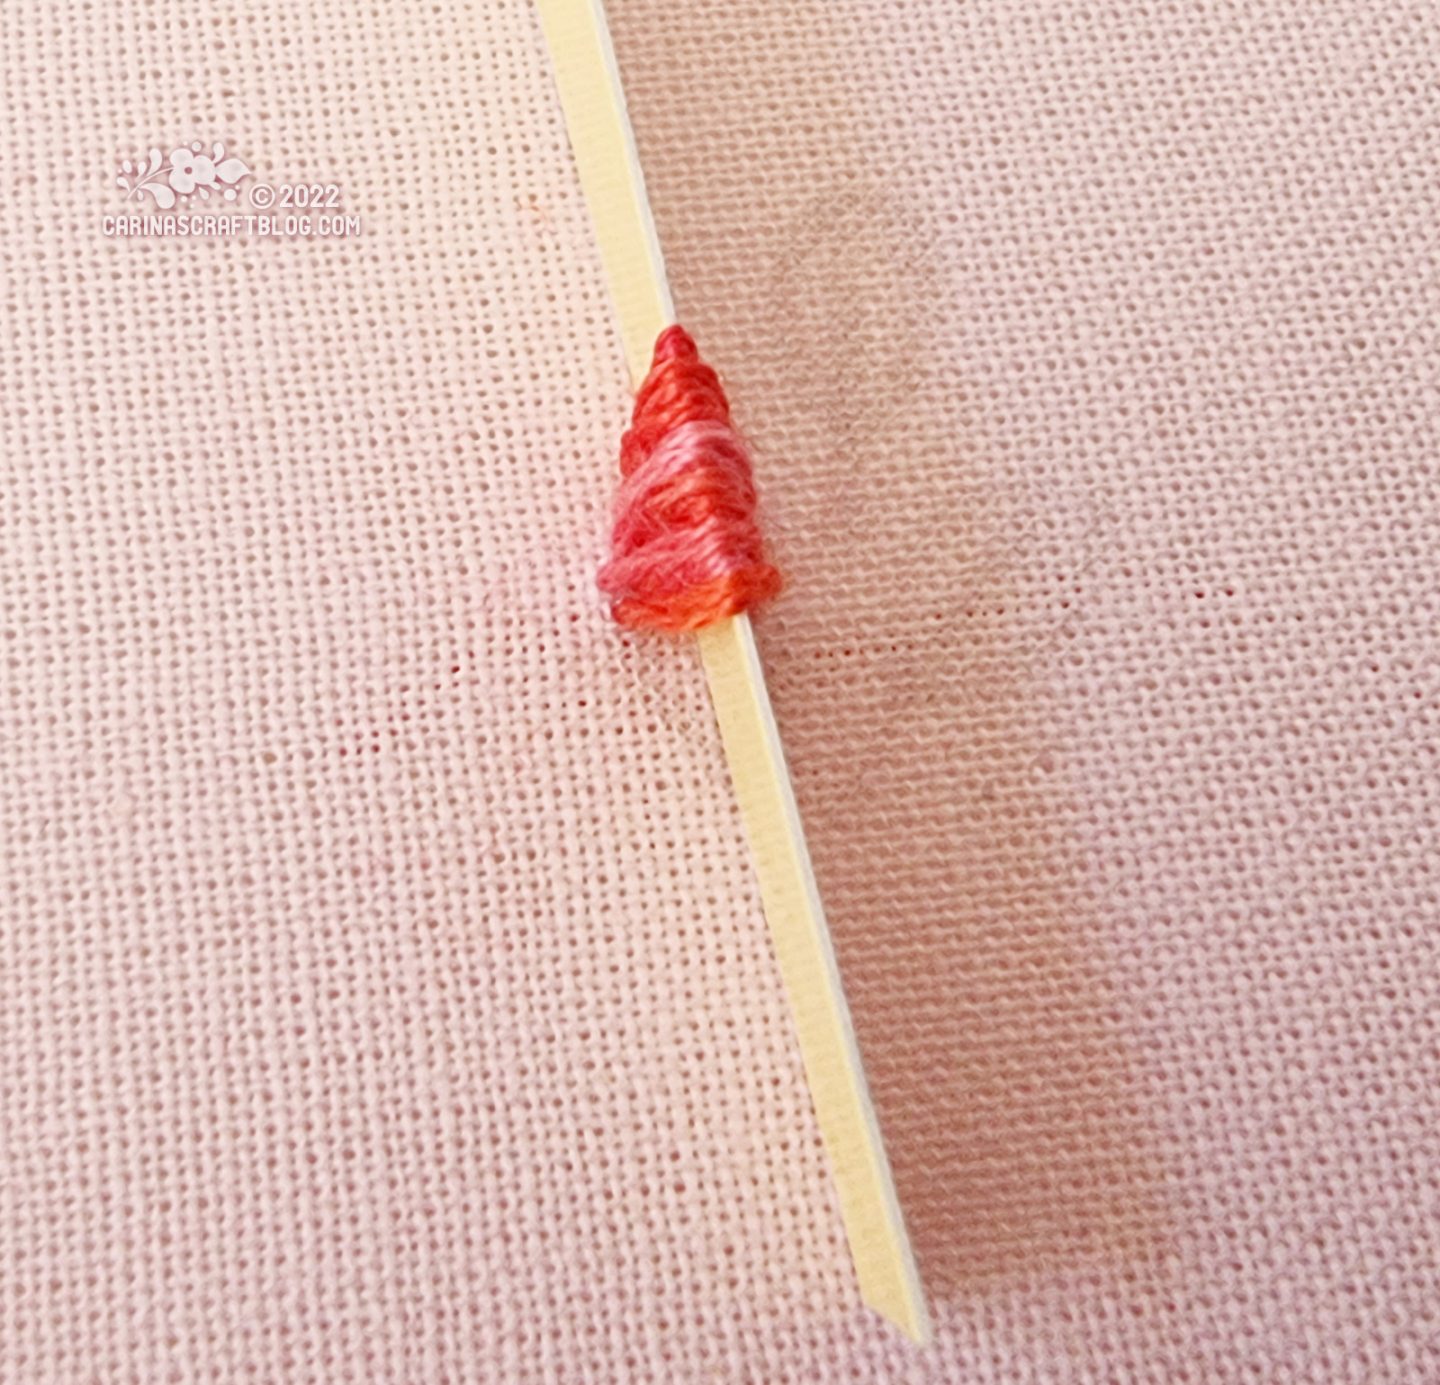
Continue adding thread around the card in this way. The width of the area of card covered in thread should be approximately 1/4″ (0.6 cm). You can go over the area twice if you want a more ‘plump’ leaf.
There is no need to make the thread covered area any wider than 1/4″. The card size will change the size of the leaf.
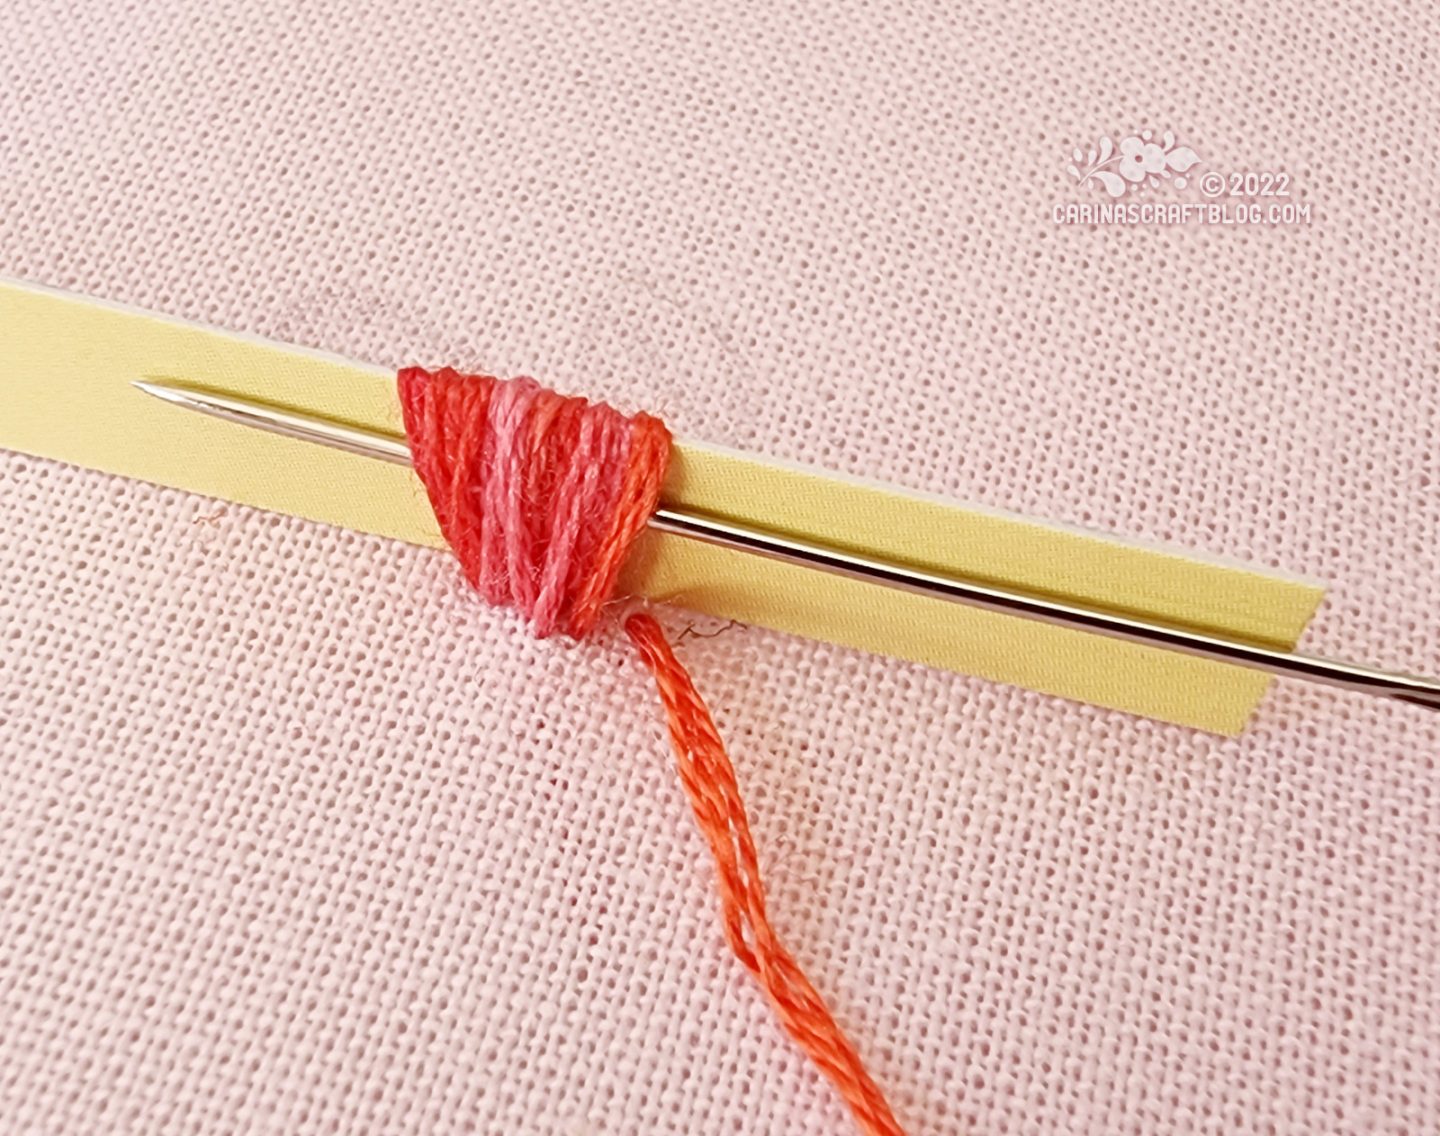
When you have covered the card, bring the needle up on the left hand side.
Slide the needle through the thread loops on the left side of the card. Take care not to catch the loops with the needle.
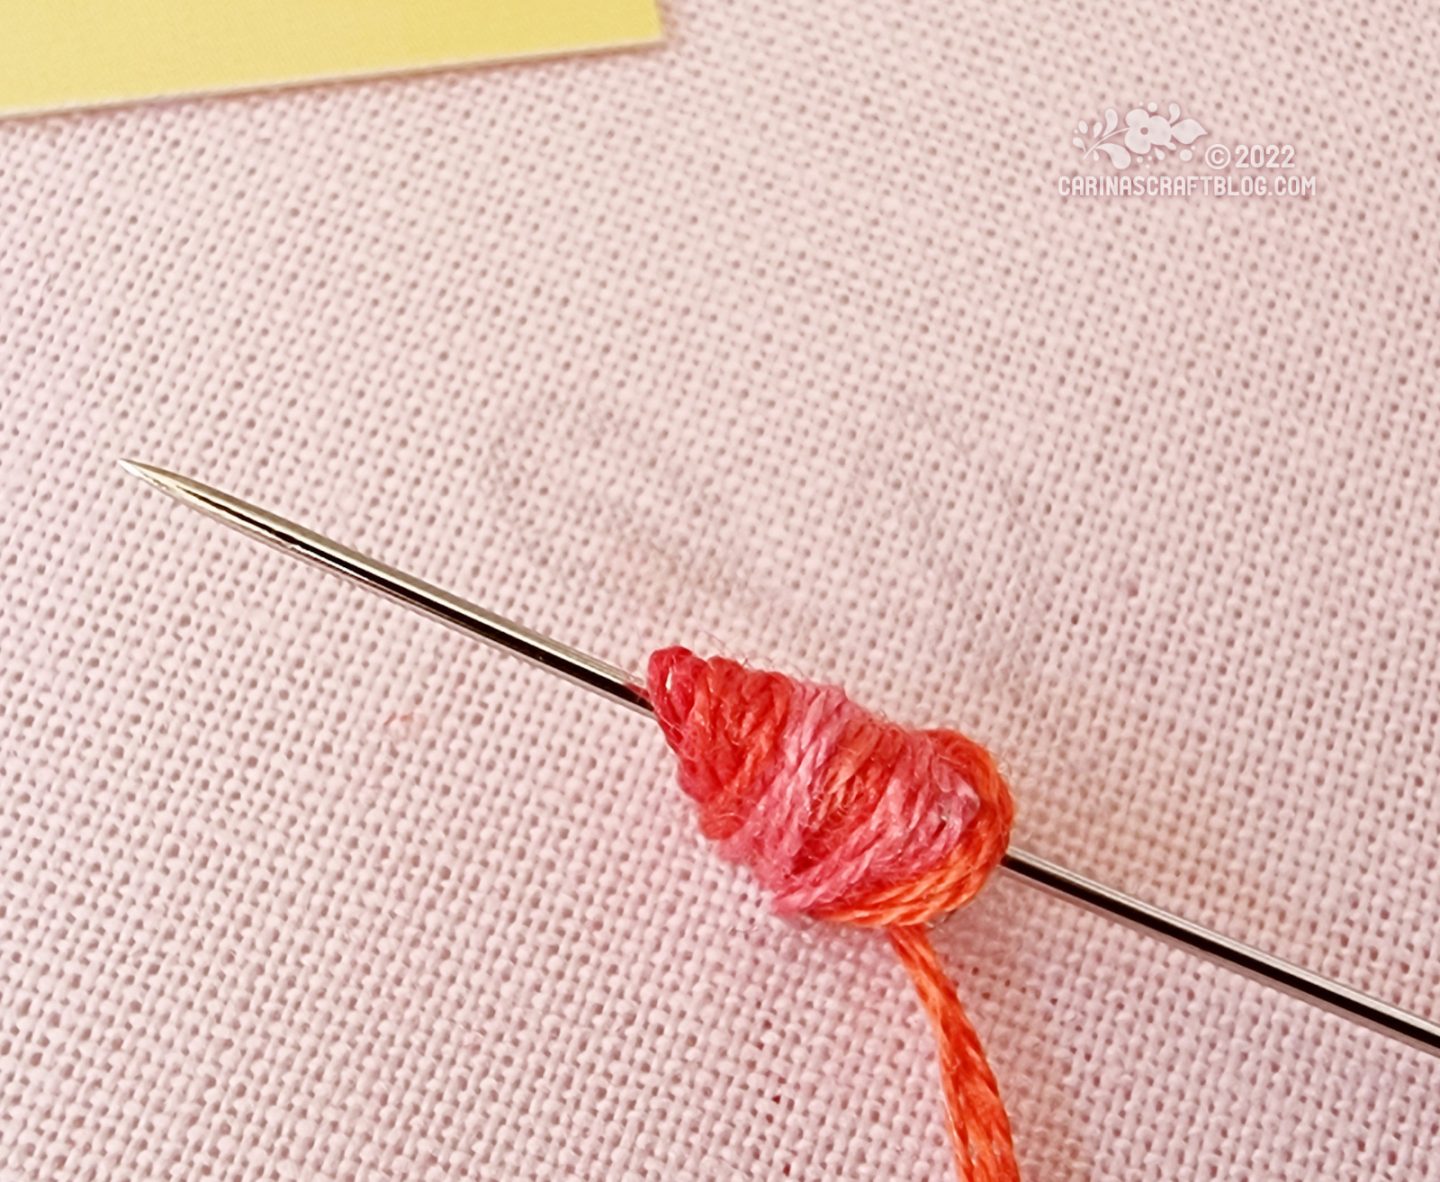
Hold the thread loops and the needle with one hand, then gently pull the card out from the loops.
The loops will have a bit of a crease at the top, I like to press the loops with my fingers to make the crease a bit sharper. That will help in the next step.
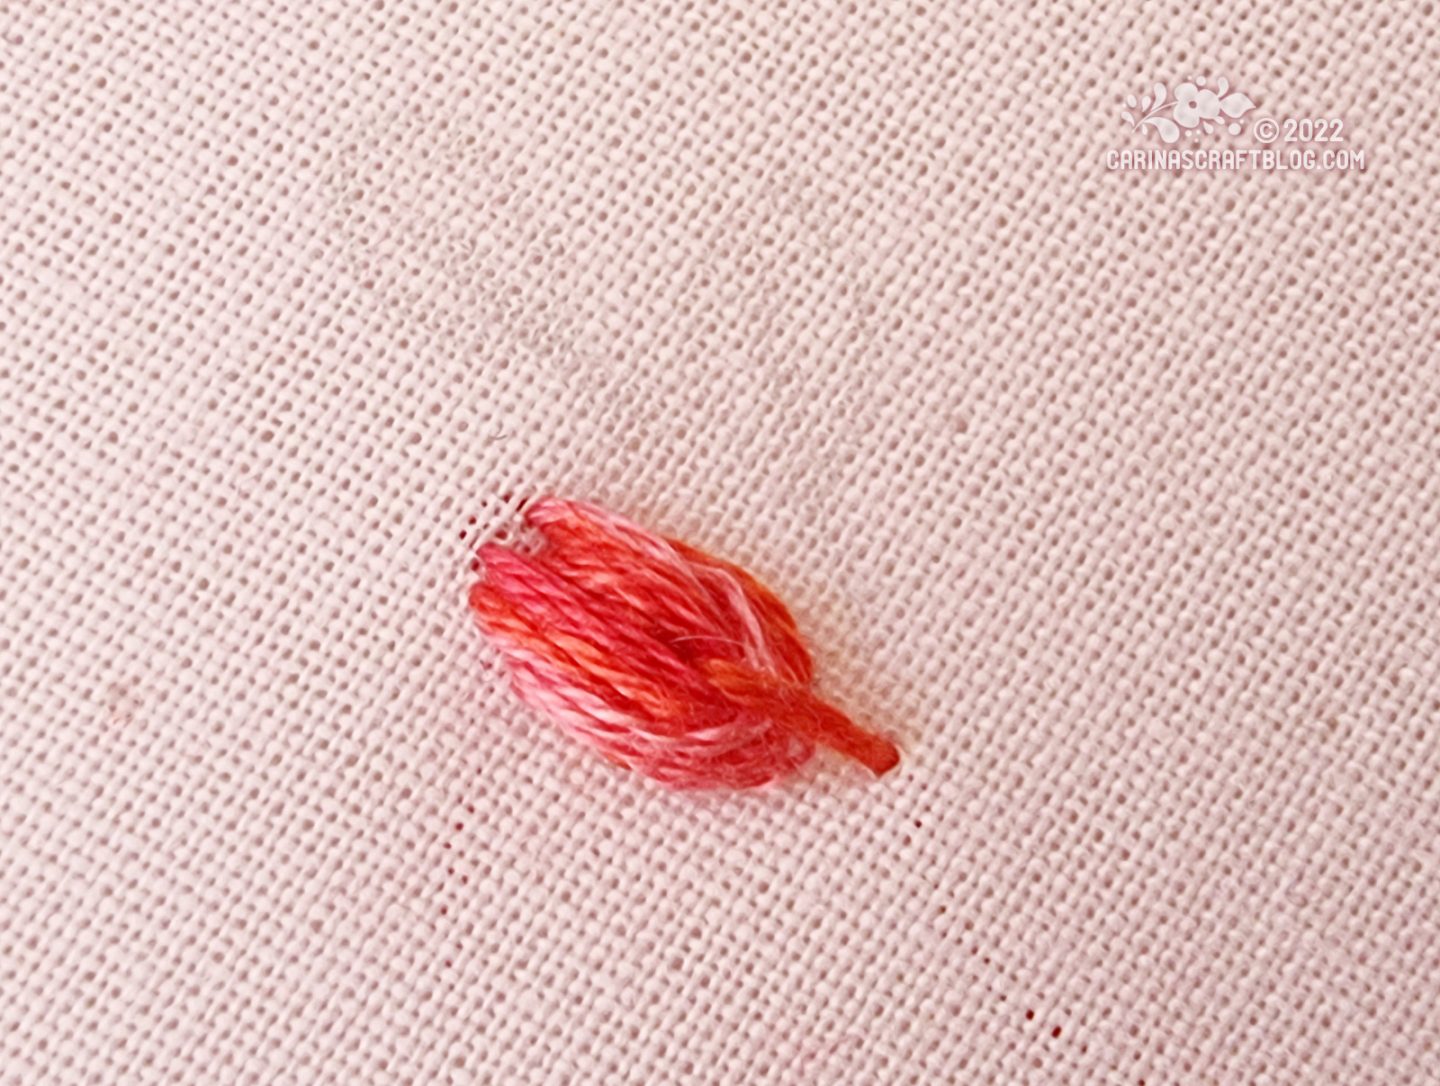
Gently pull the needle and thread away from the tip of the leaf shape and insert the needle into the fabric. Carefully pull the thread so it touches the fabric. It is possible to pull the thread too much and the loops will become wonky, so, gently does it! :-)
Did you enjoy this free tutorial? Buy me a “hot choc” and help support my blog! :-)