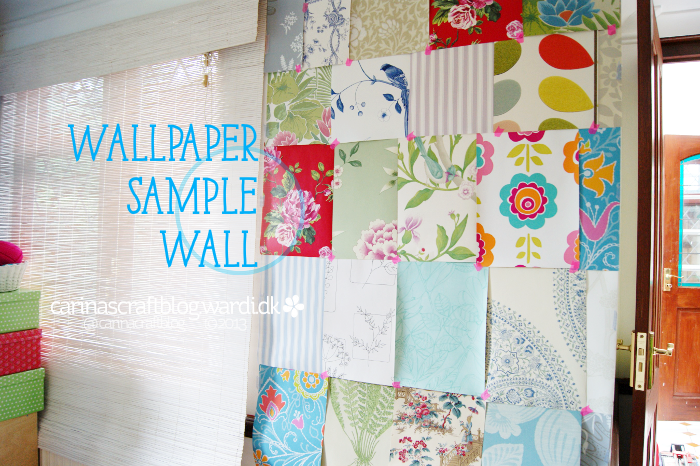
This wall in my studio needs a bit of work. We took down a hideous cupboard, but what with everything else we’ve been working on in the house (gutting the bathroom and master bedroom and putting them back together!), it’s been put on the back burner for the moment. But a scuffed wall with big holes from rawl plugs is kind of a creativity spoil sport, so something had to be done.
I didn’t want to spend any money on this temporary solution and it had to be temporary because I want to give the wall some proper tlc at some point. So it was time to get creative! My solution is quick and easy and costs virtually nothing. And it’s temporary, so would be perfect in places where you can’t paint or put up wallpaper etc.

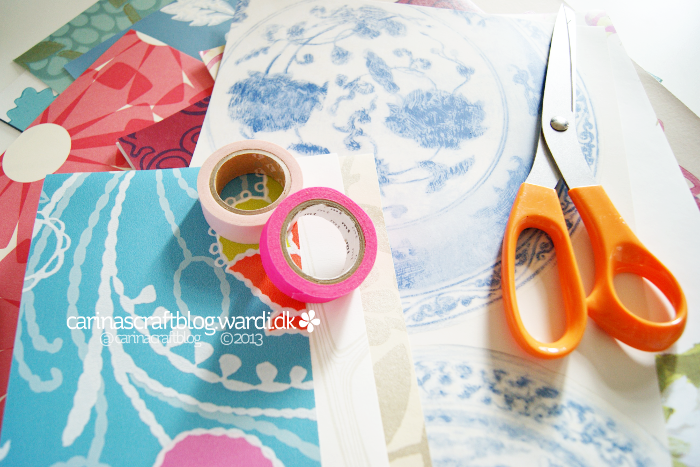
I put up a wallpaper ‘quilt’ (thank you, Diane, for the idea for that name!) And for that you need just 3 things:
Masking tape (washi tape) in 1 or 2 colours.
Scissors.
Wallpaper samples. Just go online and find places where you can order samples for free.
A note about the free-ness of the samples: Some places will let you order several for absolutely nothing. Some places only lets you order a couple for free and then you pay a small amount for each subsequent sample. And yet other places don’t charge for the samples but you have to pay postage. So just keep an eye on what the policies are. You may also be able to go instore and pick up samples for free, but I haven’t tried that.
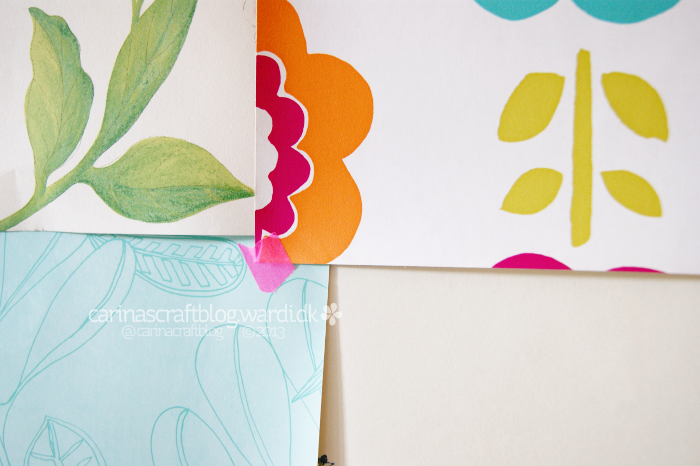
Put a small bit of masking tape at the top of each sample and then put them on the wall and re-arrange as necessary. Cut samples to size if necessary. Make sure to overlap each row with the next one so you hide the masking tape. Only the uppermost row will have masking tape showing. Once you have a layout you’re happy with, attach the samples with larger pieces of masking tape so they stay on the wall.

I used small pieces of tape in a contrasting colour (neon pink!!) to stick each row together. This will also keep the samples against the wall, because some of them do have tendency to curl in on themselves a bit. Plus the contrasting colour will help tie the different wallpapers together and adds a pop of colour to the whole thing.
And there you have it, a fun wall with almost no cost or effort! :-)
