I meant to share this tutorial with you last year *ahem* and either forgot/got busy/or some other reason I can’t remember now. I just came across the photos and thought it’s now or never, because if I didn’t do it now, the images might lay forgotten in their file for another year. Or more.
So. This is a way to ‘transfer’ a pattern to cloth when all you have is regular printer paper or similar and no fancy transfer tools or materials of any kind. Because it’s not 100% ideal, but it will do in a pinch.

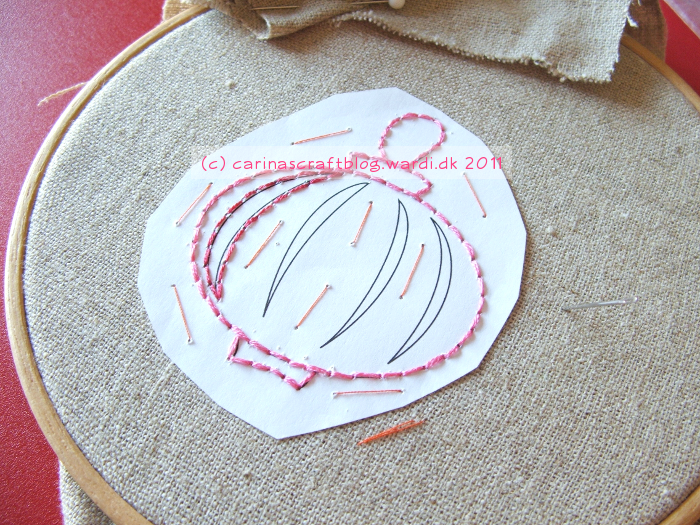
This is what you do: draw or print your pattern onto the paper, then cut off excess paper. Baste paper to the fabric, taking care to avoid the pattern itself. Once the paper is secured, start stitching. It’ll probably be a bit slower going than if it were just fabric.

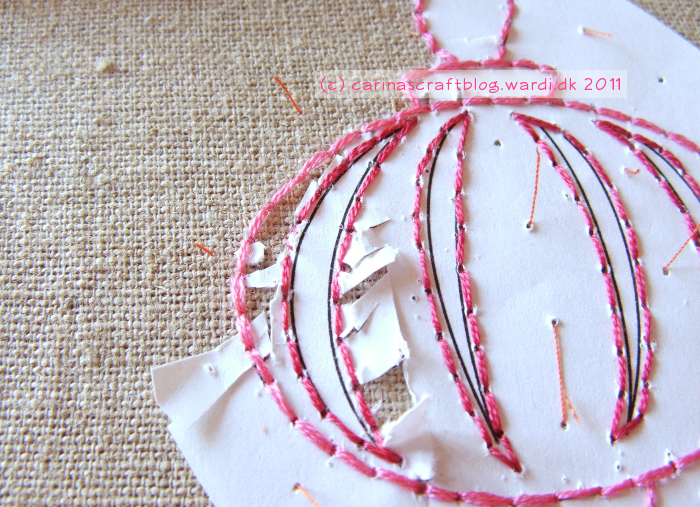
Once you’ve stitched it all, it’s time to remove the paper. This is the trickiest bit! You want to cut really close to the threads, because you can’t just rip the paper or you risk tearing the thread too. But be careful you don’t cut the threads themselves!
I found the best way, in this instance, was to make a large cut in the middle of each section and then make side cuts that end in the tiny holes where the stitches meet. Remove the paper as you go. Using a pair of tweezers for the smaller bits is really handy.
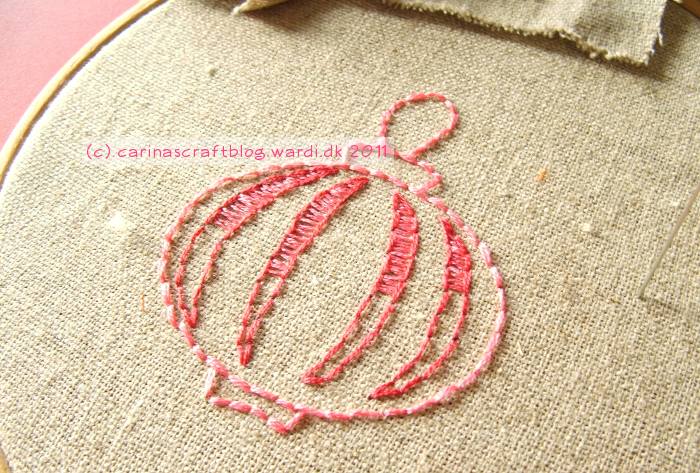
Now, this method isn’t 100% ideal because the paper means that the stitches will not be completely flush with the surface. At first I thought it looked All Wrong! But now I kinda like how it gives the stitches sort of a 3D effect. :-)
