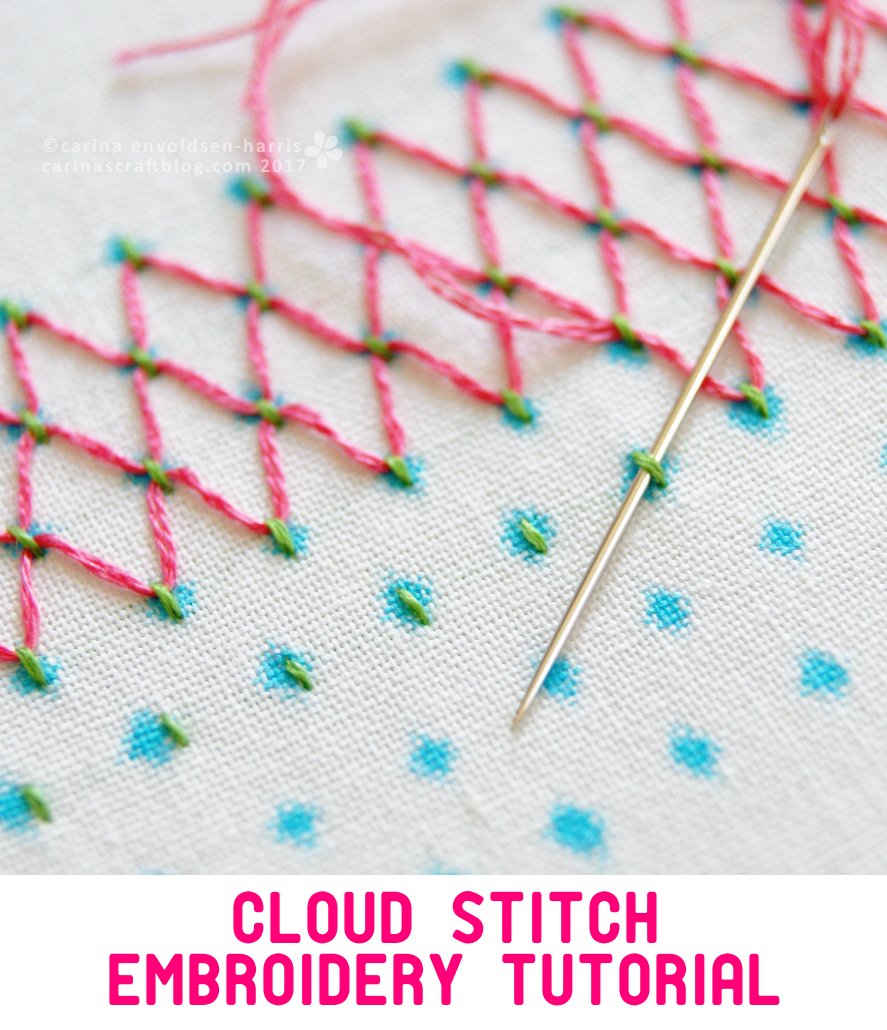
The cloud stitch. It doesn’t look much like a cloud, does it? I’m not sure where the name comes from. But it’s a lovely stitch. It is a fill stitch, but you can easily use it to make a border by only doing a few rows.
You can of course use any colour combination you want, single colour, contrasting colours or how about a nice ombre effect by using a range of dark to light shades of a single colour.

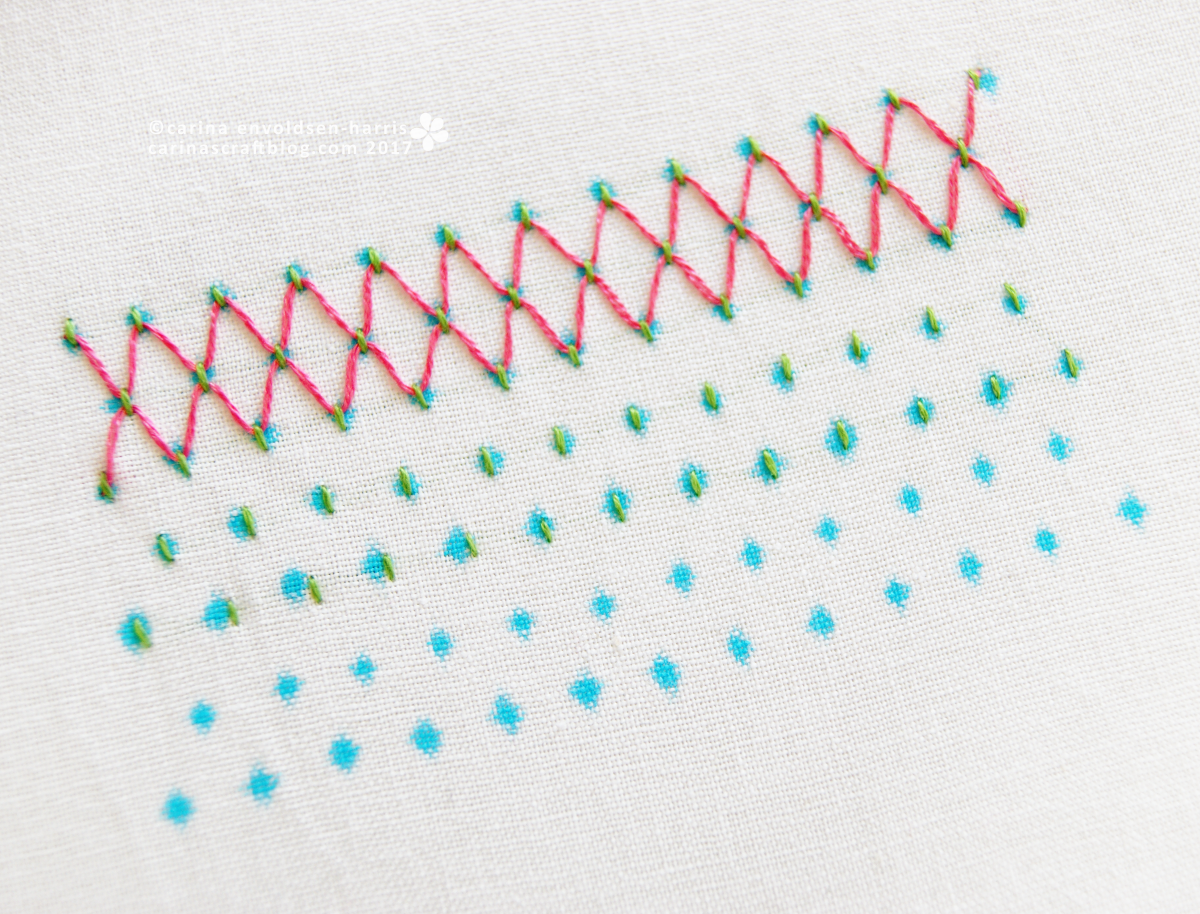
To work the stitch, you need rows of short straight stitches. Make sure that the rows alternate.
In my example I have spaced the straight stitches 1/4″ (6mm) apart, but you can do any distance as long as it is uniform. Although, I suppose an irregular pattern could look good to.

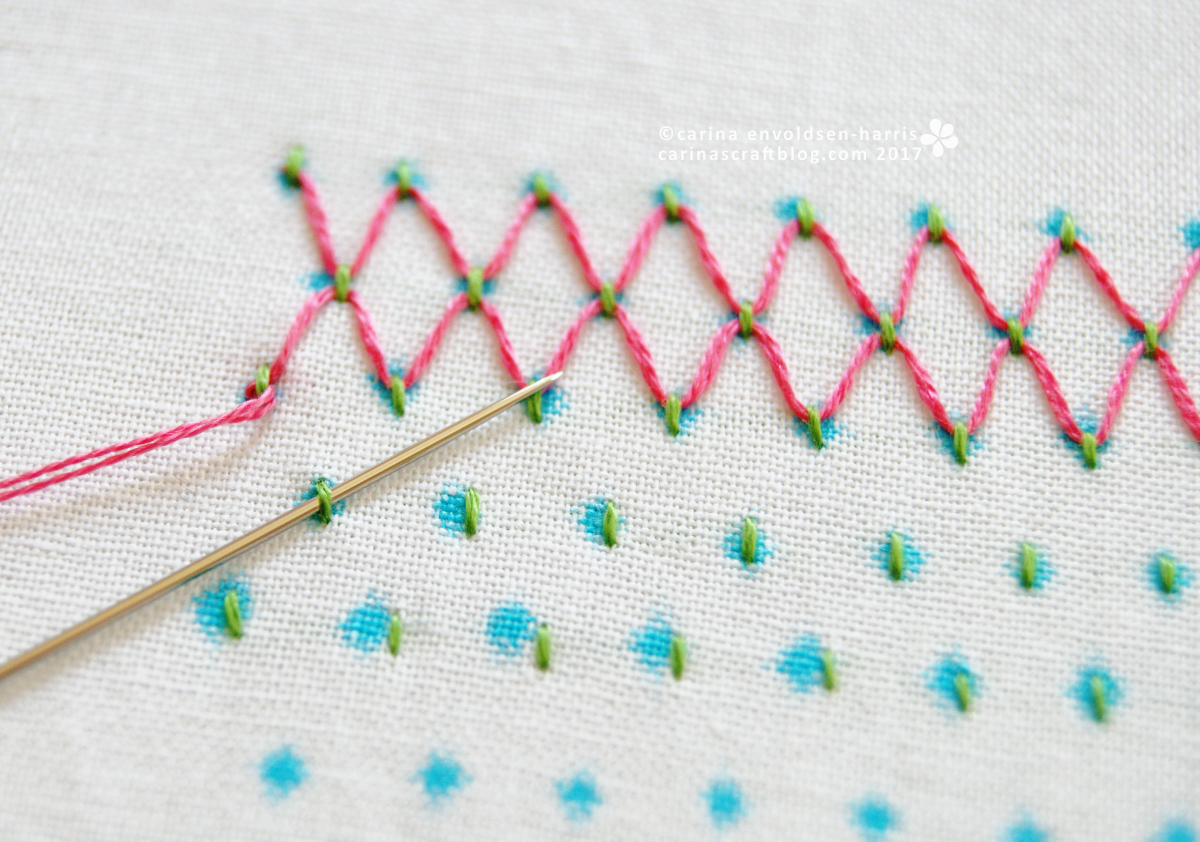
With the second colour*, pull the needle through the fabric by the end stitch in the top row. Let’s just pretend that I hadn’t already done a section, m’kay? ;-)
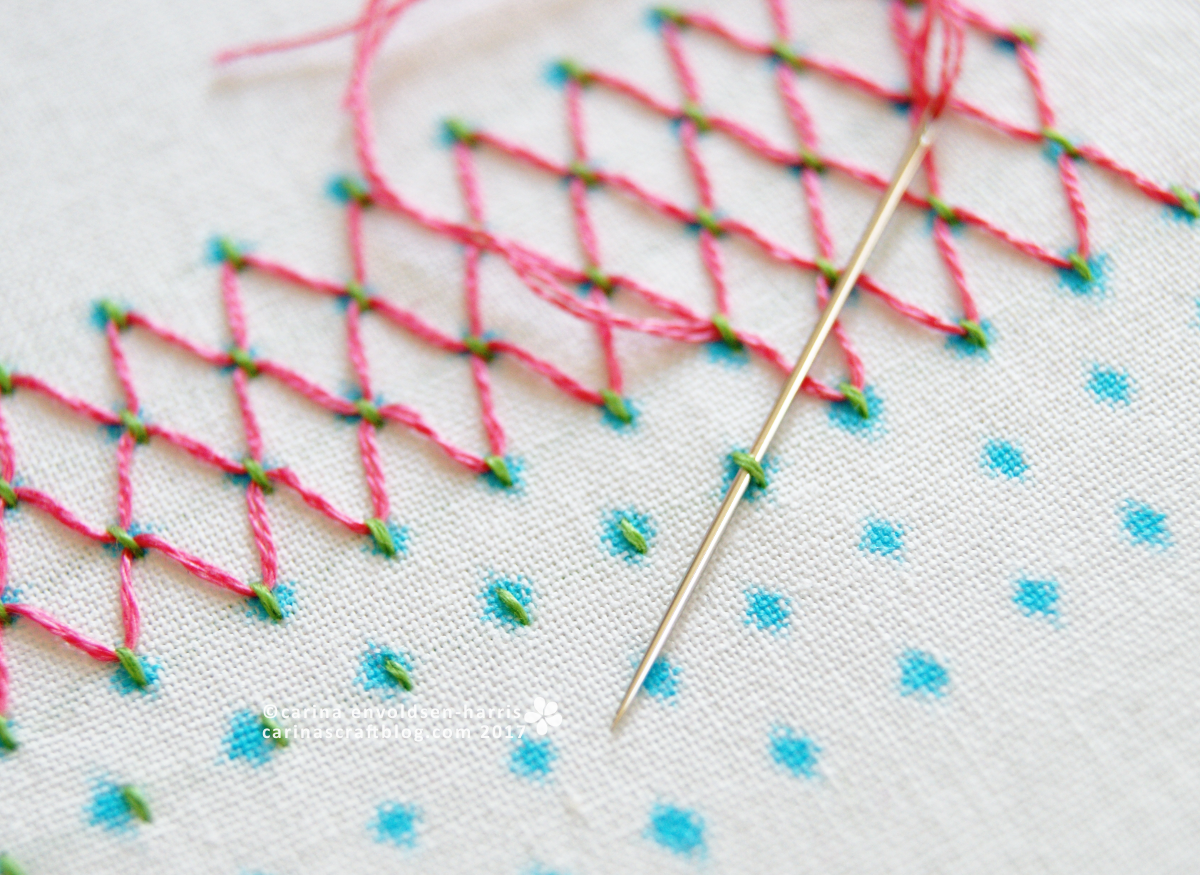
Slide the needle through the stitch, then move to the second and slide it through that stitch. The back to the first row and through the next stitch in that row.
Continue like that between the two rows. Note that all the action is on the surface of the fabric, you don’t push the needle up or down in the fabric except for starting and finishing a row (or to tie off a thread).
When you get to the end of the row, push the needle through the fabric and come up by the end stitch in row three. Move back through row two and three in the same as before. The diamond shapes will now start to appear and it is a thing of beauty.
Do the same for every row until the shape is finished, then push the needle through the fabric at the last straight stitch and tie it off.
*It does’t have to be a second colour, you can use the same colour of course.

so cute! I'll have to try this as a fill!