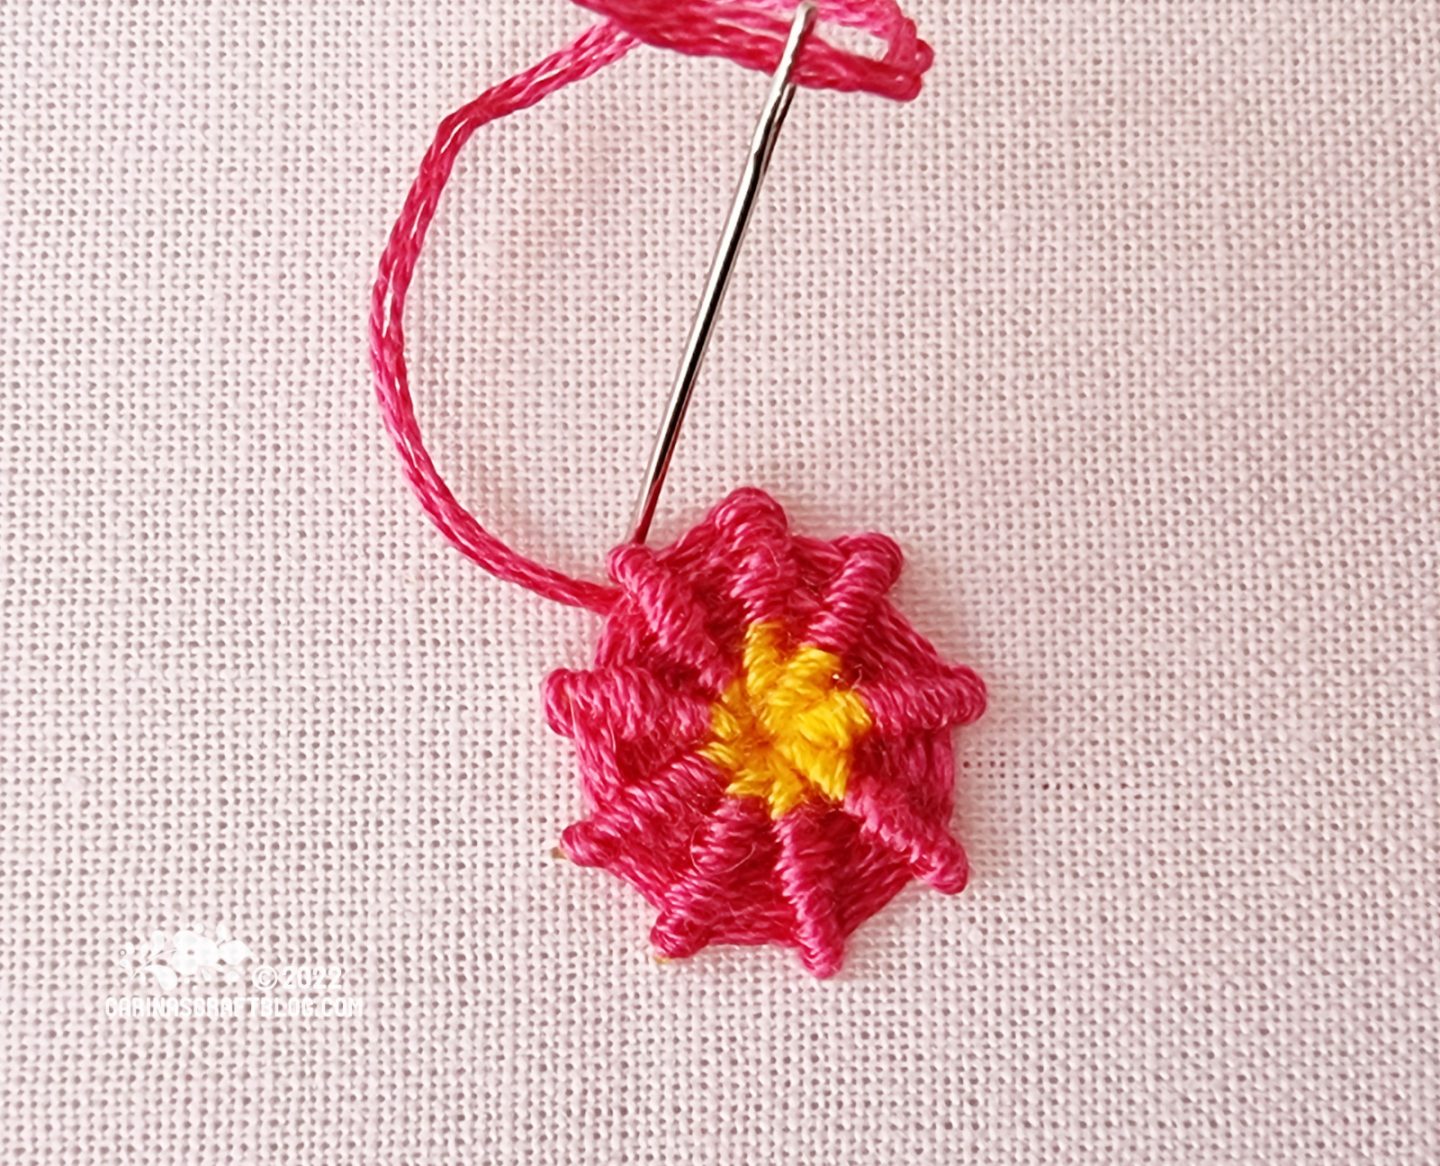
I really like the Whipped Wheel stitch. It is very relaxing to do, just going round and round. The Whipped Wheel is not the same as the Spiderweb Rose stitch. You can see both of them in the image below. The Whipped Wheel has visible ribs whereas the Spiderweb doesn’t.
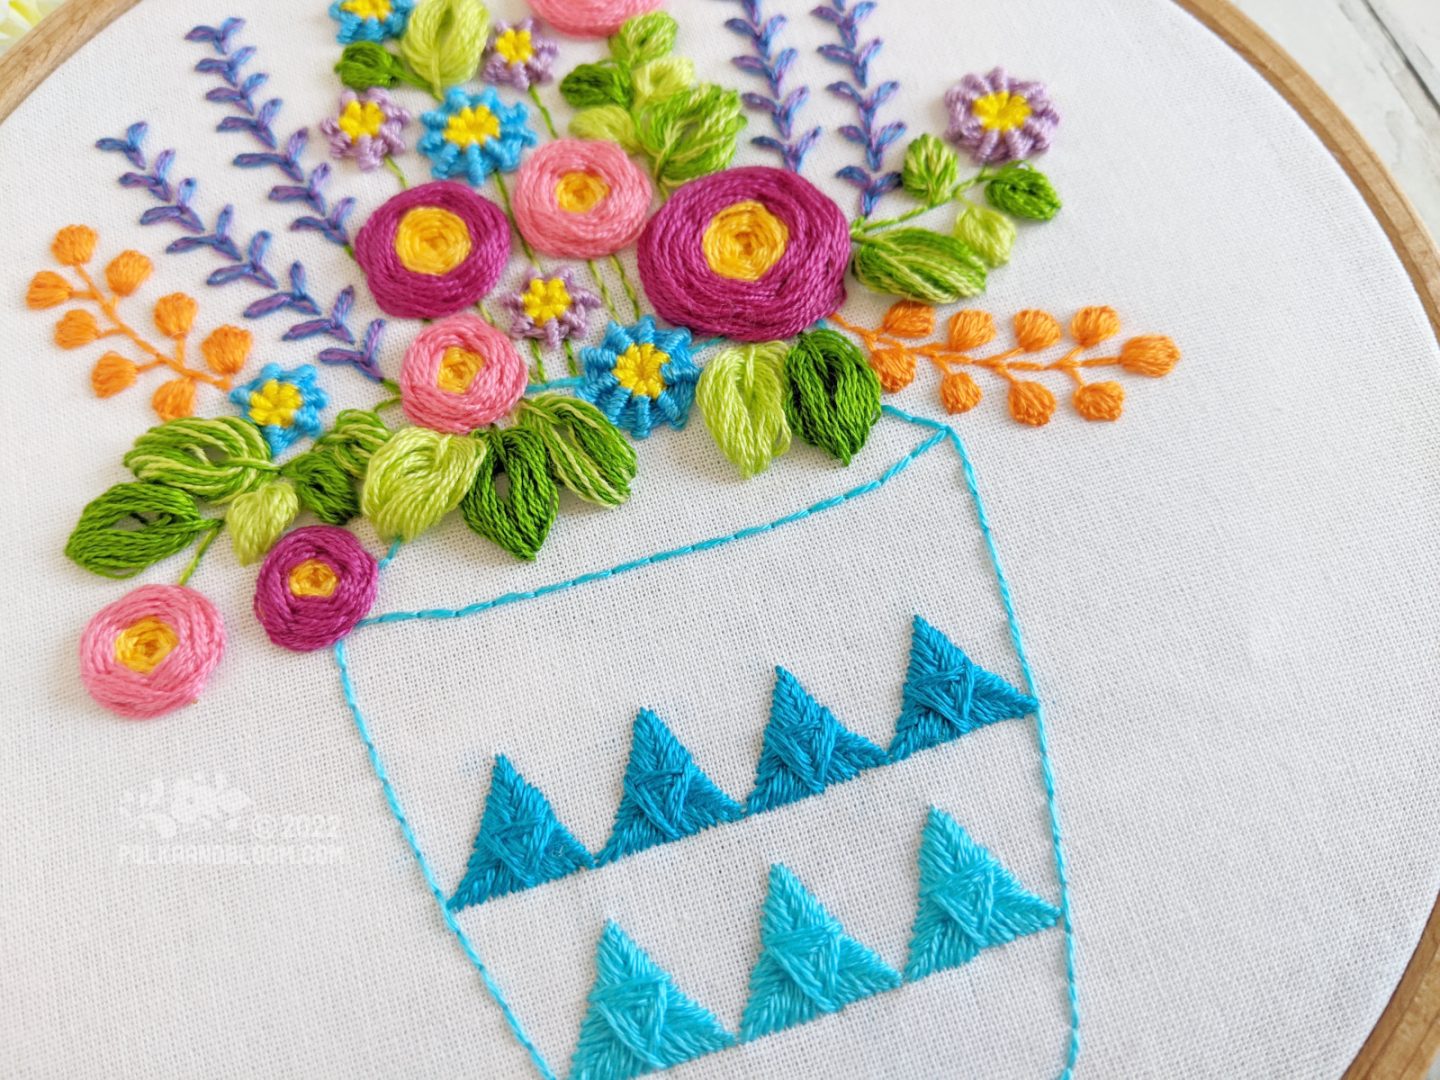
If you want to try the stitch (or both of them) in a pattern, it is one of the stitches used in my recent Blooms Burst pattern. The pattern also has an extra PDF with tutorials for all the stitches used in the pattern.
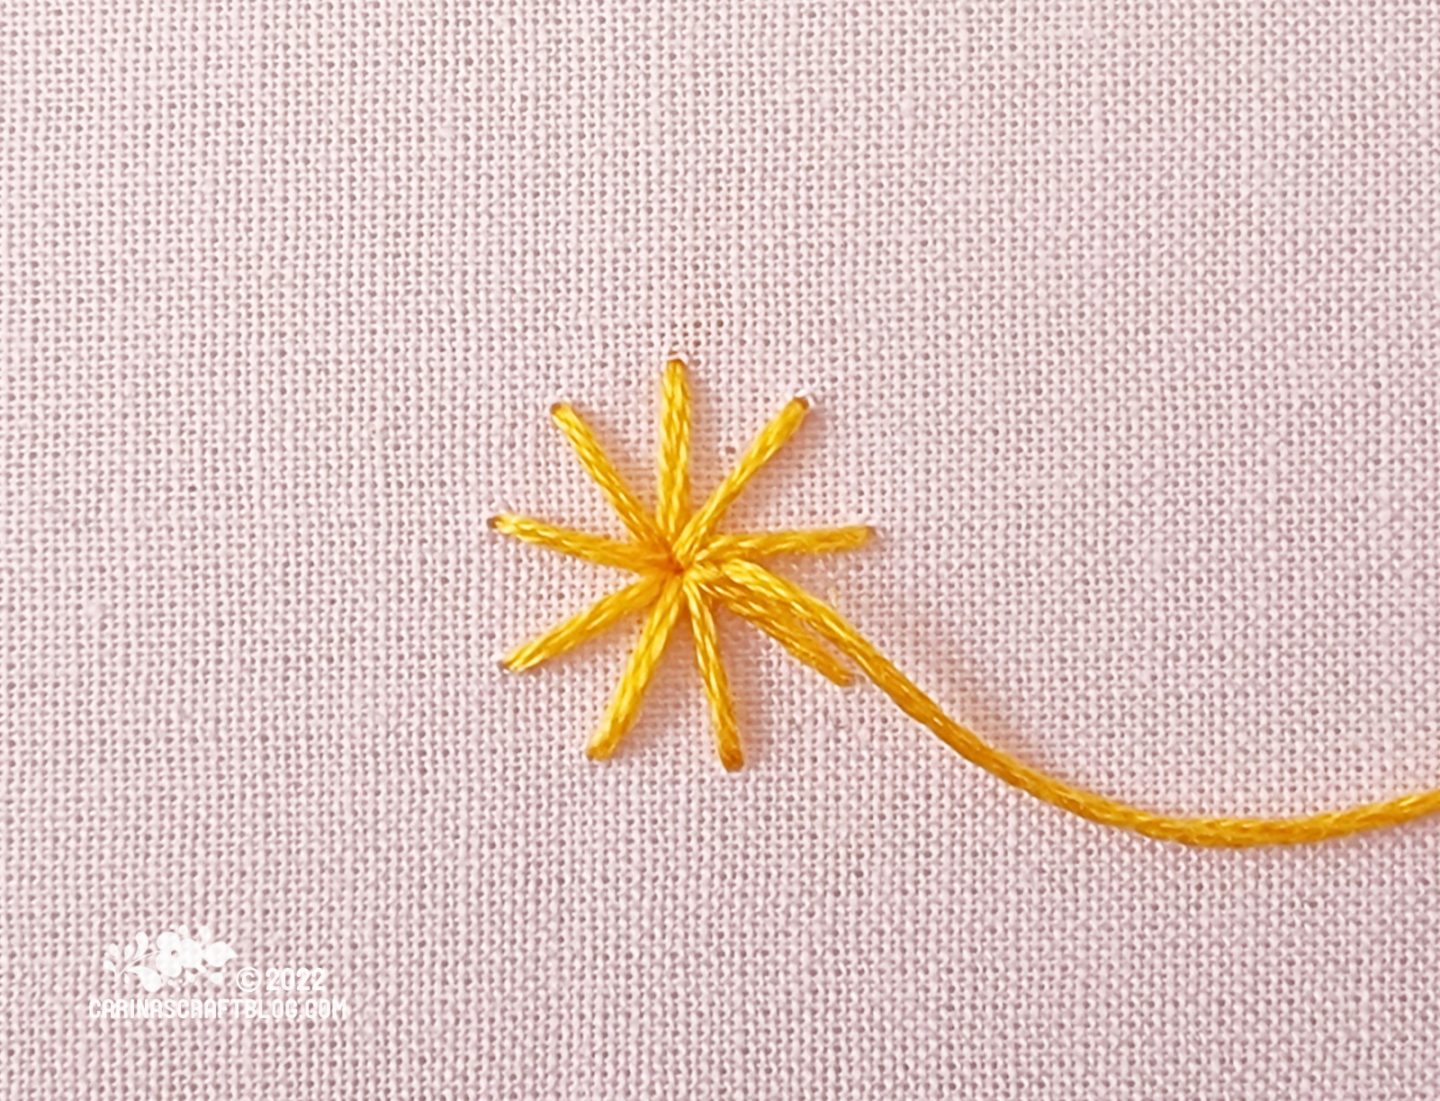
Make a star with 7 or 9 spokes, by bringing the needle up at the end of one spoke, then bring it
down in the centre. You may want to draw the spokes for the wheel but you can also just start stitching.
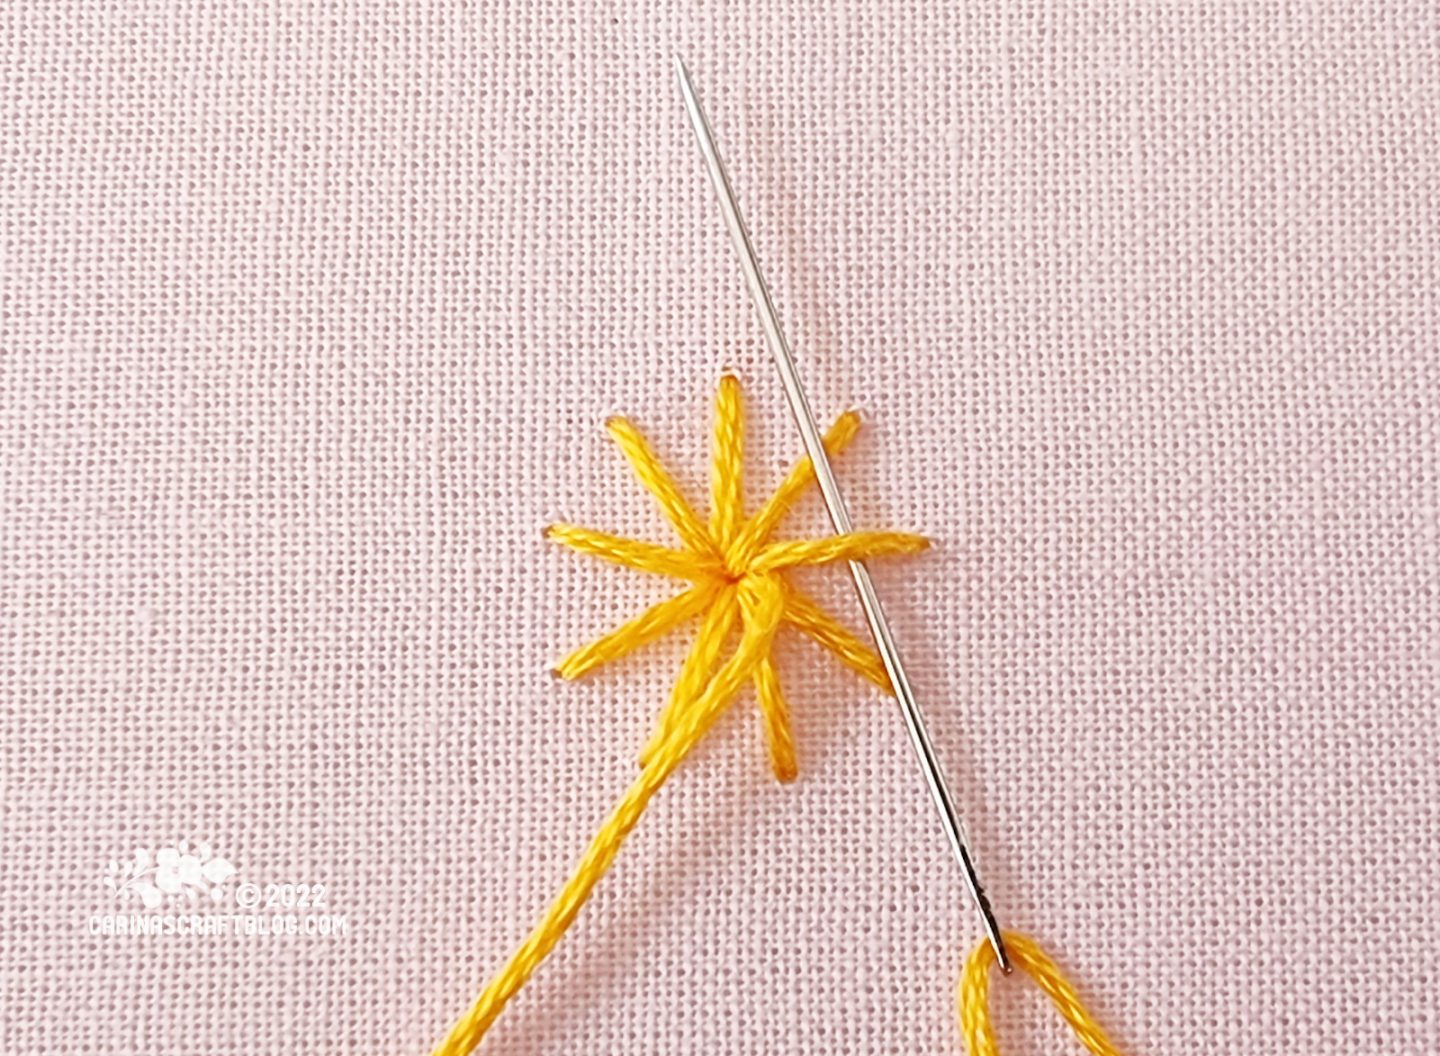
Bring the needle up in between two of the spokes, as close to the centre as possible, taking care not to bring the needle upright in the centre or the last stitch will unravel.
Pass the needle under the spoke to the right of where you brought up the needle.
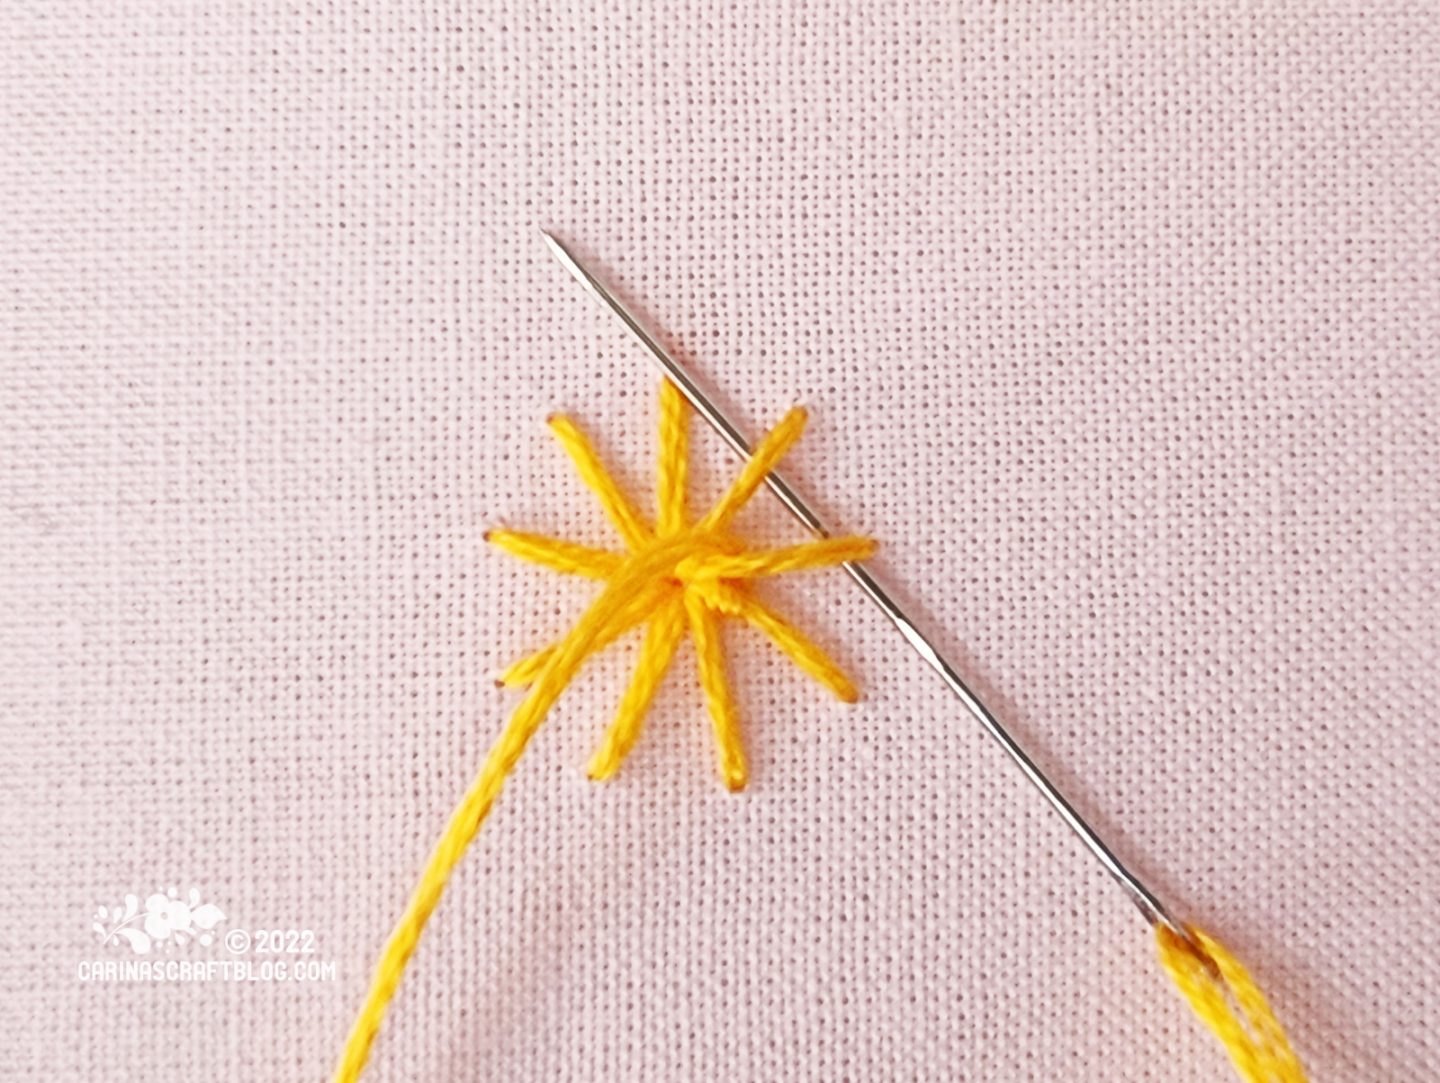
Then pass the needle under the same spoke as well the spoke to the right of the first spoke.
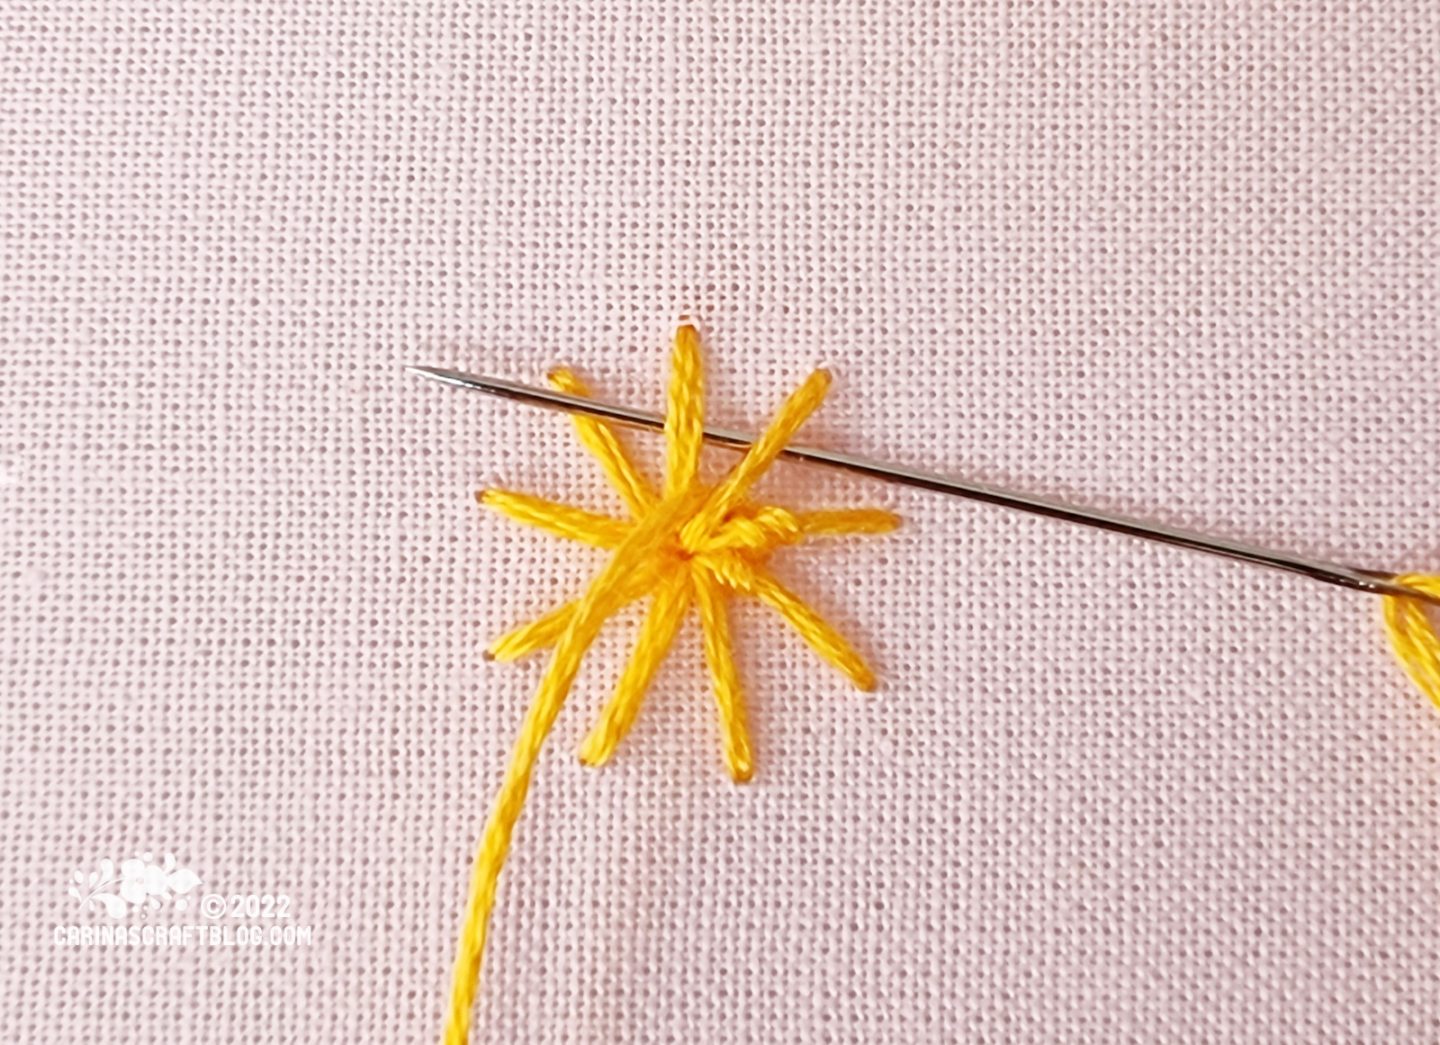
Pass the needle under the second spoke again, as well as the spoke to the right of the second spoke.
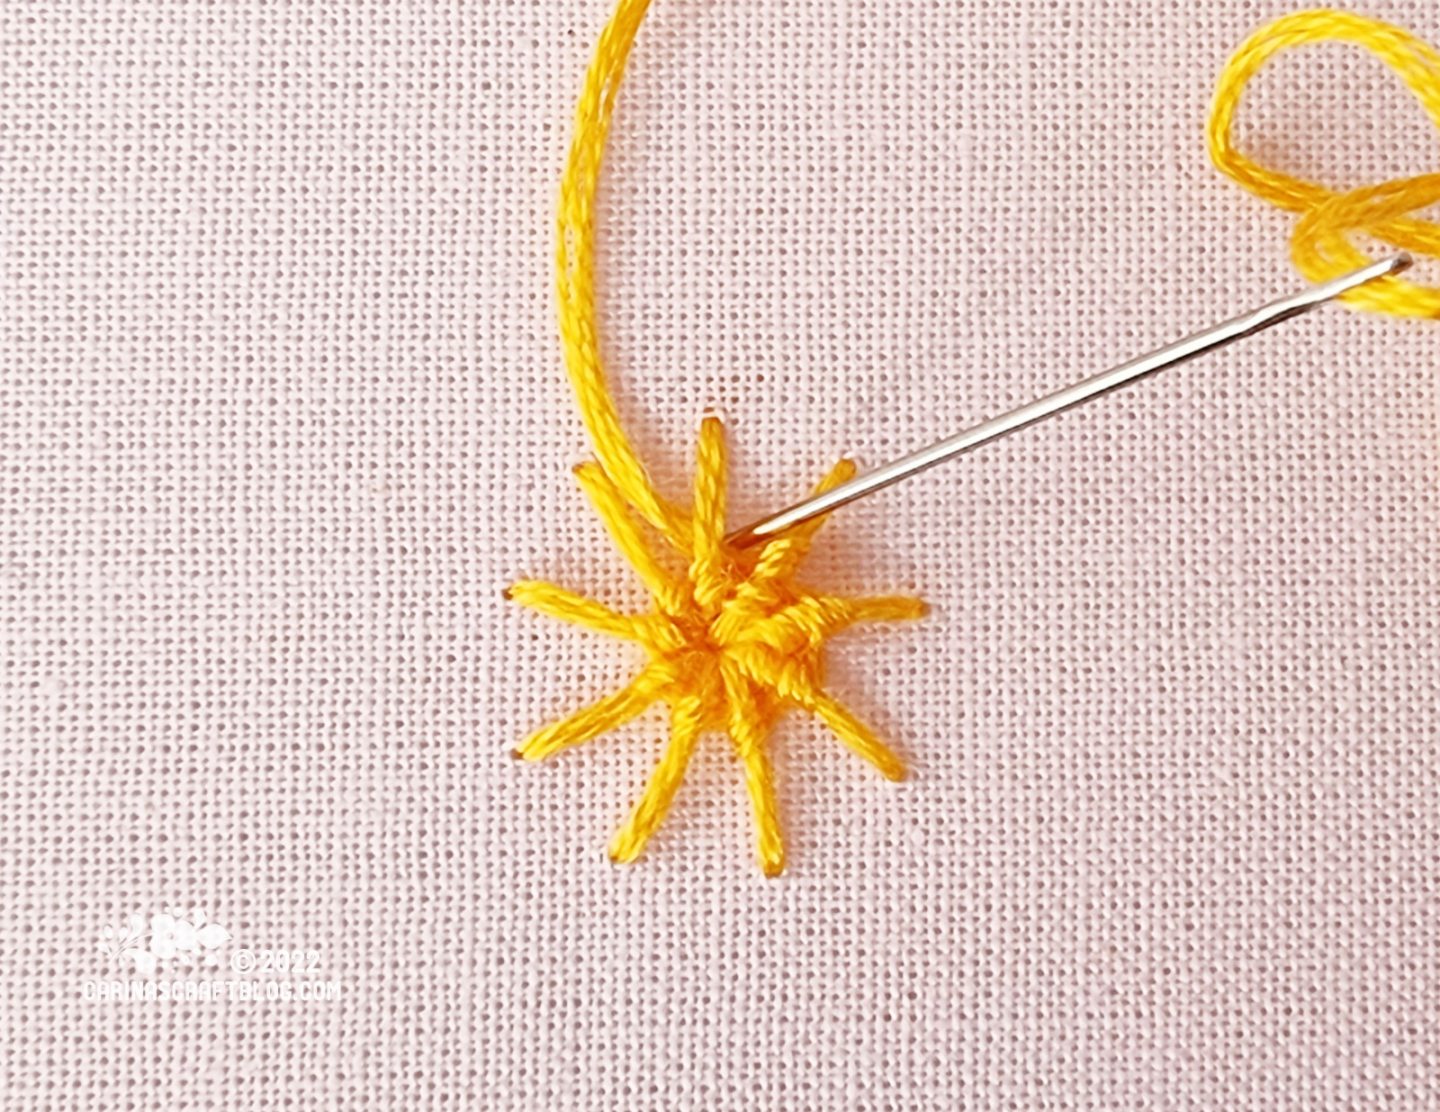
Carry on passing the needle and thread under the spoke stitches until the yellow centre is the desired size. Bring the needle and thread to the back. Secure and cut off the thread.
If you are using a single colour for the whipped wheel, carry on until the whole thing is filled instead of stopping when the stitch is half filled.
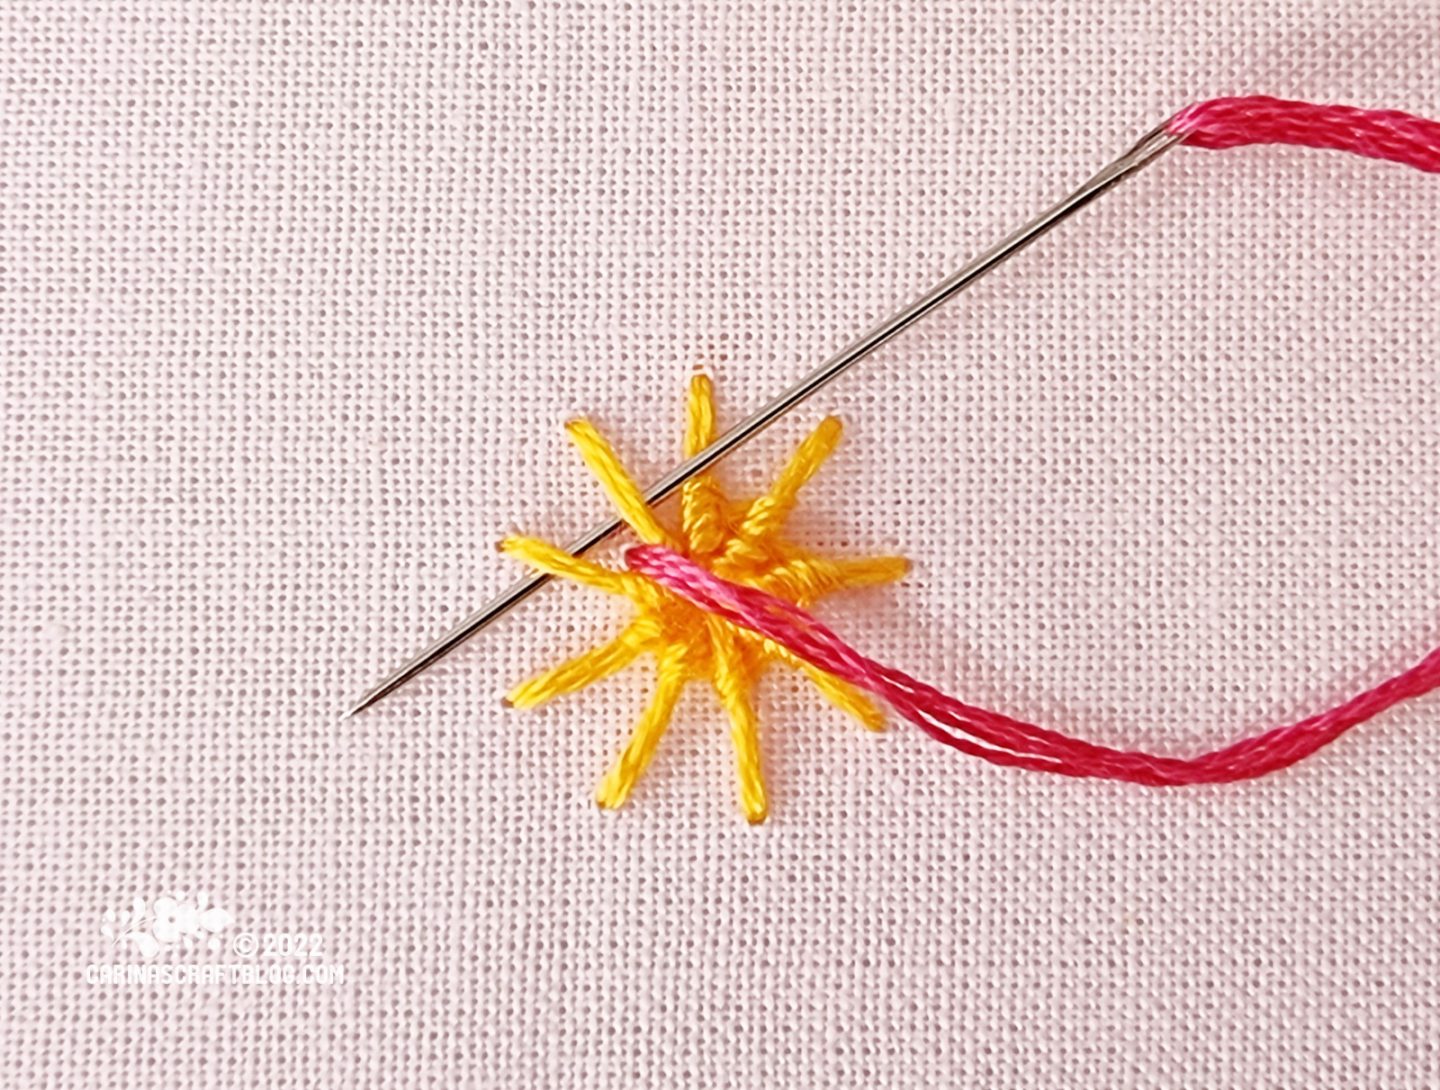
Bring the needle with the second colour up where you finished the first colour and carry on passing the needle and thread under the stitches until the whole wheel is filled. Push the needle to the back. Secure the thread and cut off the thread.

And here is that finished Whipped Wheel stitch again. I love they look little sugar flowers when you make them quite small. Good enough to eat. :-)
Did you enjoy this free tutorial? Buy me a “hot choc” and help support my blog! :-)